Part two of the step-by-step guide to using the often misunderstood Kestrel Wind Meter - from truing the data to using LiNK, the free Kestrel app
 credit: Archant
Following on from the first instalment, this month we will find out a little more about the Kestrel 5700 Elite AB. Last time, we covered setting up the unit to engage either one or multiple targets. We will now cover truing your data and using the unit with the free Kestrel LiNK ballistic app on either your android or IOS device.
Starting with truing your unit, this needs to be done each time you go out in the field and cannot be carried out at home. Truing will allow for subtle changes in velocity due to barrel conditions, weather conditions, altitude, air density and other factors which can affect the velocity on a given day. A change of just 50 fps could be enough to mean a miss at extended ranges.
The first part of this will be to calibrate the velocity within the supersonic range of the bullet… sounds complicated? Don’t worry, it’s not, just follow these simple steps:
 credit: Archant
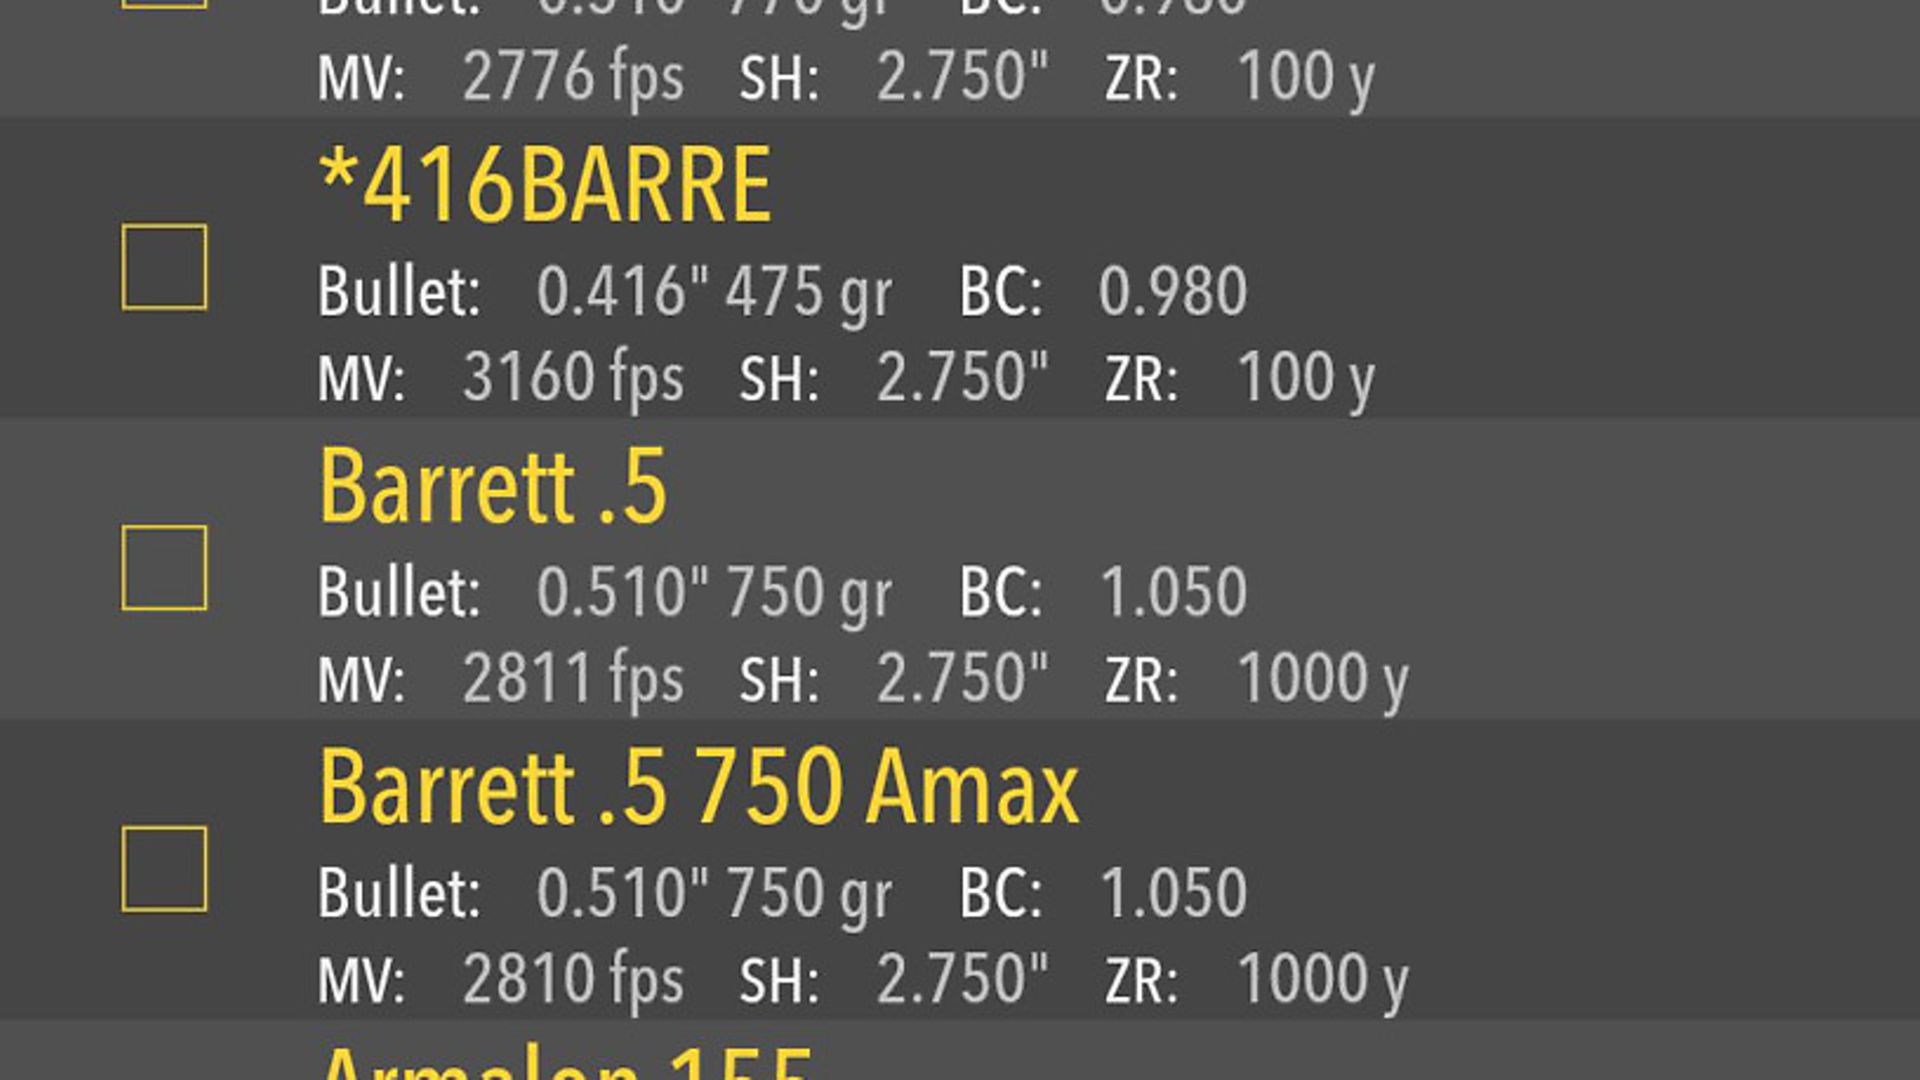
1. In the Gun menu, scroll down to the MV and press Select. Now move down to the CAL MV option and again press Select.
2. At the top of this next screen will be the distance at which your round will transcend the supersonic/subsonic boundary Mach 1.2 in brackets. This is the optimum distance at which to true your firing solution. If you cannot obtain a target within this optimum distance, you should ensure that you are within 90% to 100% of this recommended range. A distance of less than 80% or more than 120% will result in an invalid calibration.
3. Coming down one to Range, use the left and right arrows to scroll to the actual range that you are going to be truing your solution at. Ensure, as above, that it’s within the ideal 90-100% range – and certainly no less than 80% and no greater than 120%. The closer you are to the optimum range the more accurate your truing will be.
4. The third line is Drop, which is the point of impact calculated by the Kestrel based on the muzzle velocity estimate and other inputs (including WD and DoF) already entered into the Kestrel. Input the equal but opposite elevation hold to correct for the calculated drop into your scope. For example, a point of impact Drop of 10 mils would require inputting an elevation solution of 10 mils up. Take a few shots to establish the actual point of impact at the calibration range, and then adjust Drop to match. For example, if the point of impact is 0.5 mils high, subtract 0.5 mils from Drop. If the correct wind values have been input, you can ignore how much the bullet missed to left or right.
 credit: Archant
5. As you adjust your drop data you will notice that the MV increases or decreases accordingly – pressing Exit and then accepting the new data will update the gun profile with this new data.
Now we have trued our solution near to the transonic boundary, we need to confirm this data as being accurate.Choose a target roughly half of the distance of the one used to true your data and enter the range into the Kestrel. Adjust your scope or hold according to the solution presented by the unit, and fire a shot or two to confirm the data.
For those of us who like to push the boundaries of our equipment and shoot out to, and even through and beyond, the supersonic range of our ammunition, the Kestrel has a very neat little facility called Calibrate DSF (Drop Scale Factor). If you are using one of the Litz custom drag models via the LiNK application then this function is not really necessary, but it makes a huge difference for your G1 and G7 curves.
 credit: Archant
To calibrate DSF:
1. First ensure MV has been calibrated correctly and then enter the Gun sub menu, scroll down to Cal DSF and
press Select.
2 Just like in the Cal MV menu, the top line of the Cal DSF screen shows the recommended range at which to calibrate DSF, which is the distance at which the bullet reaches Mach 0.9. Calibration should take place at a range of at least 90% of the distance to the recommended range. Calibrating at less than 80% of the recommended range will result in an invalid calibration.
 credit: Archant
3 The next one down says Range – scroll left or right to input the actual range at which you are calibrating.
4 Next is Drop, which is the point of impact calculated by the Kestrel based on the inputs (including WD and DoF) already entered into the Kestrel. Input the equal but opposite elevation hold to correct for the calculated drop into your scope. For example, a point of impact Drop of 10 mils would require inputting an elevation solution of 10 mils up. Take a few shots to establish the actual point of impact at the calibration range, and then adjust to match. For example, if the point of impact is 0.5 mils high, subtract 0.5 mils resulting in a new Drop of 9.5. If the correct wind values have been input you can ignore how much the bullet missed to left or right.
5 Adjusting Drop will calculate a new Drop Scale Factor (DSF) value which will be indicated by a +/- depending on whether the new DSF value has been calibrated up or down. Pressing Exit and accepting the new DSF value will automatically add it to the list of up to six DSF calibration points that can be created to calibrate DSF through the transonic and subsonic range of the bullet. A single DSF calibration exercise can create more than one DSF data point. If a new DSF value is created, any DSF values measured at lower Mach numbers (typically shorter distances) will automatically be deleted. All DSF values can be viewed and deleted in the View DSF section.
6 After calibrating DSF beyond the transonic boundary, confirm your data by continuing to shoot at targets at greater distances. If your firing solutions start to become inaccurate at a longer range, run the Cal DSF function again to add a new DSF calibration point at a lower Mach number.
Having just read back through that, it has given rise to a wry smile; our editor Dom asked me for some technical articles…. I think this qualifies as a start?
USING THE APP
An added attraction for myself (I like gadgets!) is that even though you can use the Kestrel 5700 Elite AB as a standalone unit to obtain a firing solution, you can also connect it to your smartphone or tablet using the LiNK Bluetooth and open up even more possibilities, as well as a very simple-to-use graphical interface.
Once downloaded it is a simple set-up procedure to connect it to your device. From the main screen you have four options:
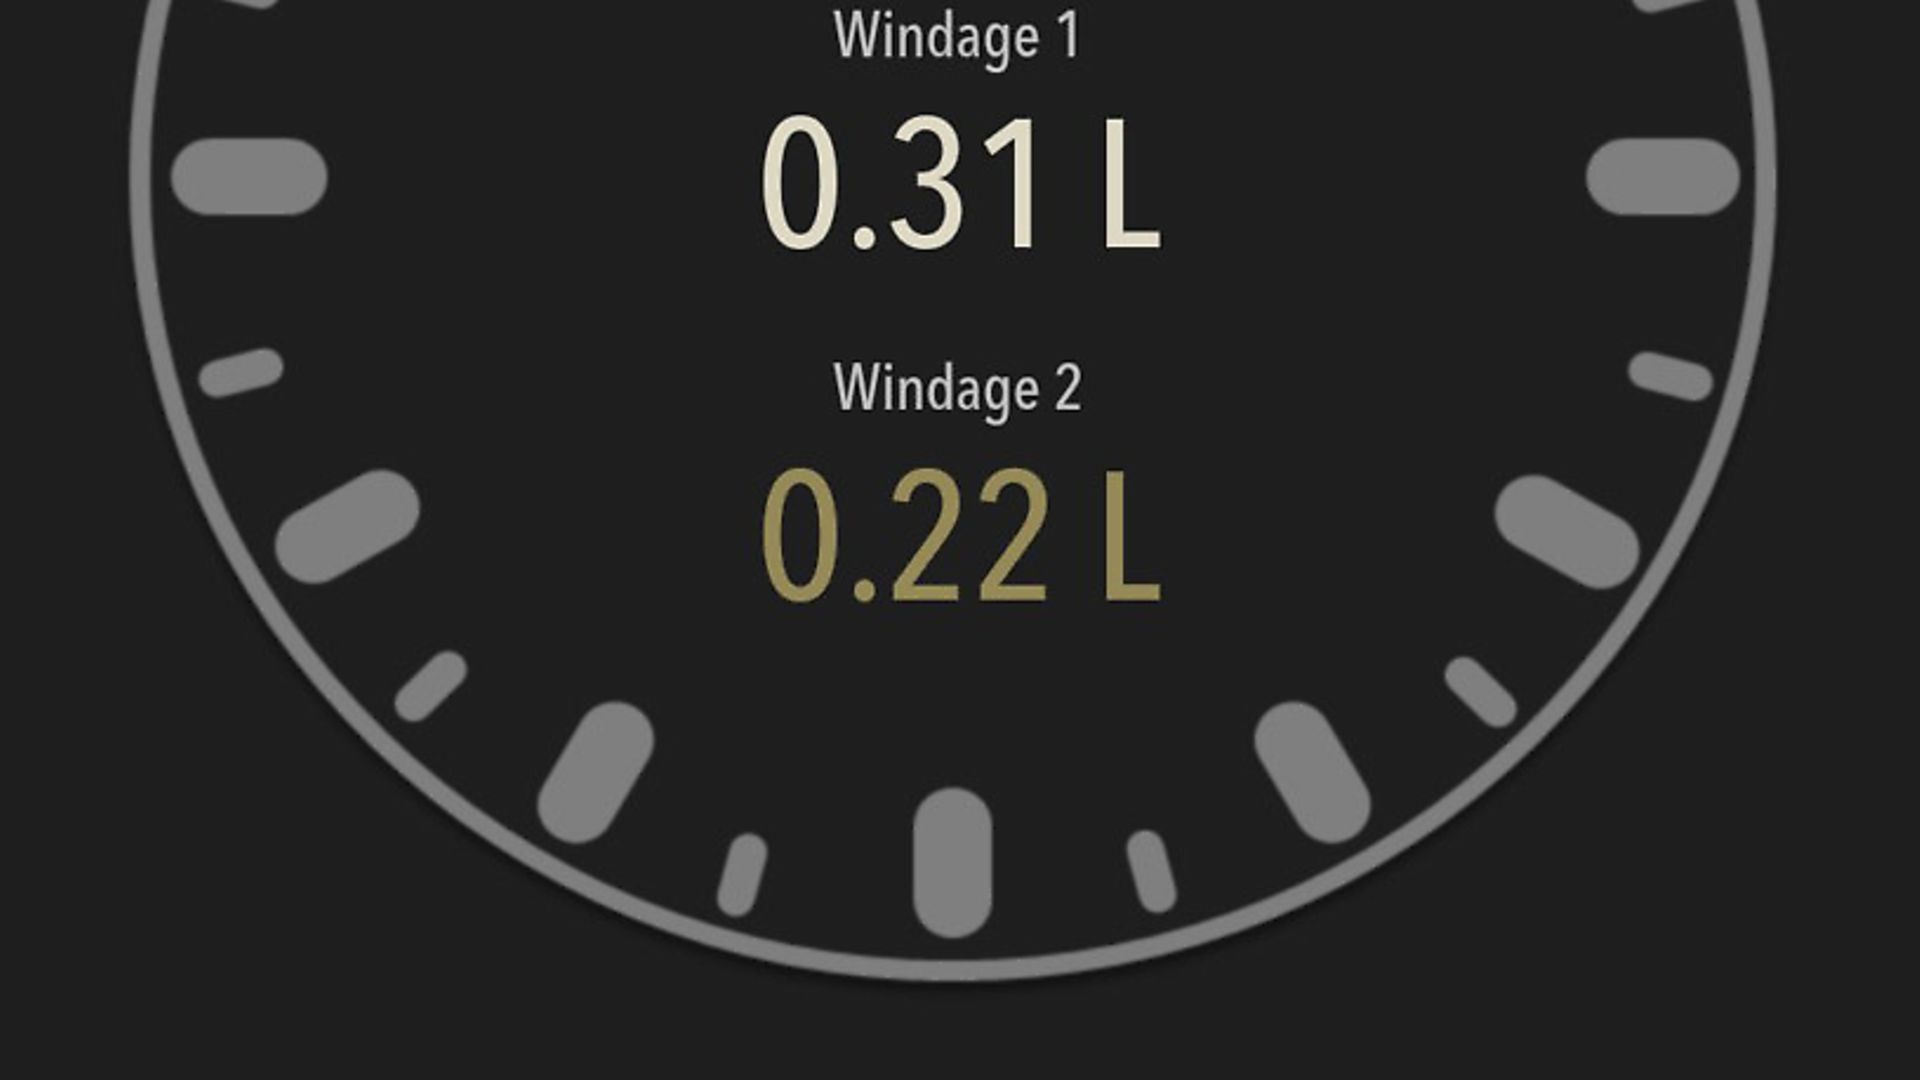
1. Single Target Engagement. This screen is a graphical display showing a clock face type display with your gun details below. Working from the left of the screen we can see WS1 (wind speed 1), which is 0mph. WD (wind direction) is 1.00, but what does this mean? Using the clock face, if you look at the yellow indicators you will see that it is highlighted between the 2 and 3 mark – hence 2.30. To the right we have WS2 at 5mph. So, now you have the wind direction and also the high and low wind speeds to allow you to bracket your wind call.
In the centre is the Elevation, here showing 10.90U. The scope on this particular rifle is set in MOA, so I know that to the target at 1,004 yards (bottom left) Rng(y) I would need to dial up 10.90 MOA from my 100-yard zero. Below the elevation adjustment is the wind calls, high and low. The details below that show the gun in use and also the environmental information recorded by the Kestrel.
From here you can alter the distance to the target by either swiping up and down or using the + and – symbols at the bottom. To get the very best out of the app, I advise using your Kestrel on the optional weather vane and mount and running the wind in ‘live capture’ mode. To put the Kestrel into live capture mode you simply highlight Wind and then press the capture key. It will change to a W with a right arrow – this now has you in live capture mode and the wind will continually update to the app while connected.
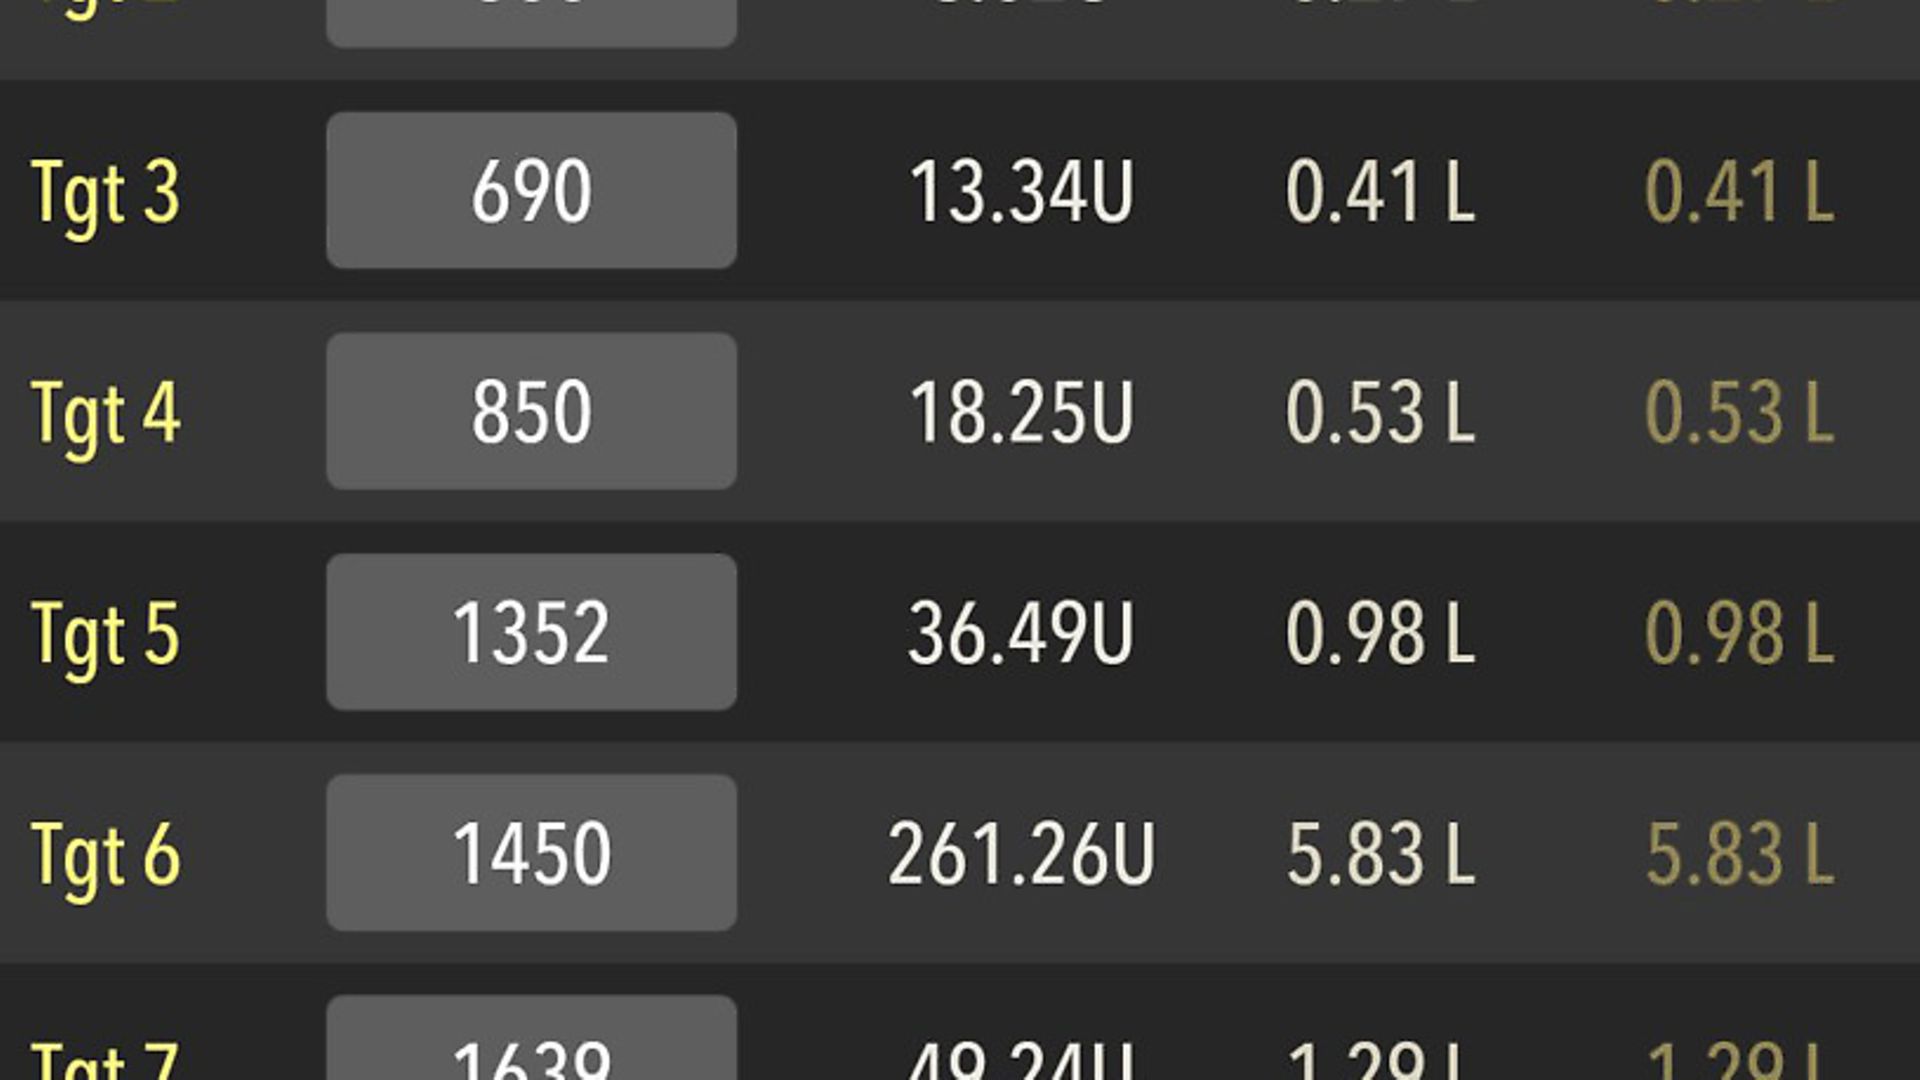
2. Mutli Target Engagement. Pretty self-explanatory, this one! You can enter the details for up to eight different targets and the app will give you a firing solution for each one. Like the graphical screen, it shows WS1 and WS2, WD, each target distance and Elevation adjustment, along with your Wnd1 and Wnd2.
3. Gun Profile Management. From here you are able to build more detailed gun profiles than those on the Kestrel itself. You can send the profiles either as individuals or as a selection to the Kestrel and also retrieve profiles from the Kestrel.
The biggest benefit of building guns via the app is that you now have access to a vast library of custom curves developed by Bryan Litz and the applied ballistics team. They can easily be loaded from the library and increase your hit probability greatly in your early days. Once comfortable with the unit though, I always recommend building your own curve by using both the MV calibration and the calibrate DSF option – this provides a firing solution tailored exactly to your set-up. Spend some time adding the MV temperature table and you will have a firing solution for every eventuality and condition.
4. Connection. This menu allows you to connect other devices to your Kestrel using bluetooth or, if like me you have more than one Kestrel, you can choose which one to run with the Kestrel LiNK application.
Once you are familiar with the basic operation of your Kestrel, you can begin to explore some of the more advanced features such as crosswind, headwind, the range card, setting muzzle velocity and temperature tables to automatically adjust your MV based on the ambient temperature.
One last note – once you have recorded all your data, write it down somewhere safe, ideally in your shooting log book… batteries sometimes run out!