Paul Austin presents your essential guide to fine tuning your rifle in order to achieve the best accuracy results possible
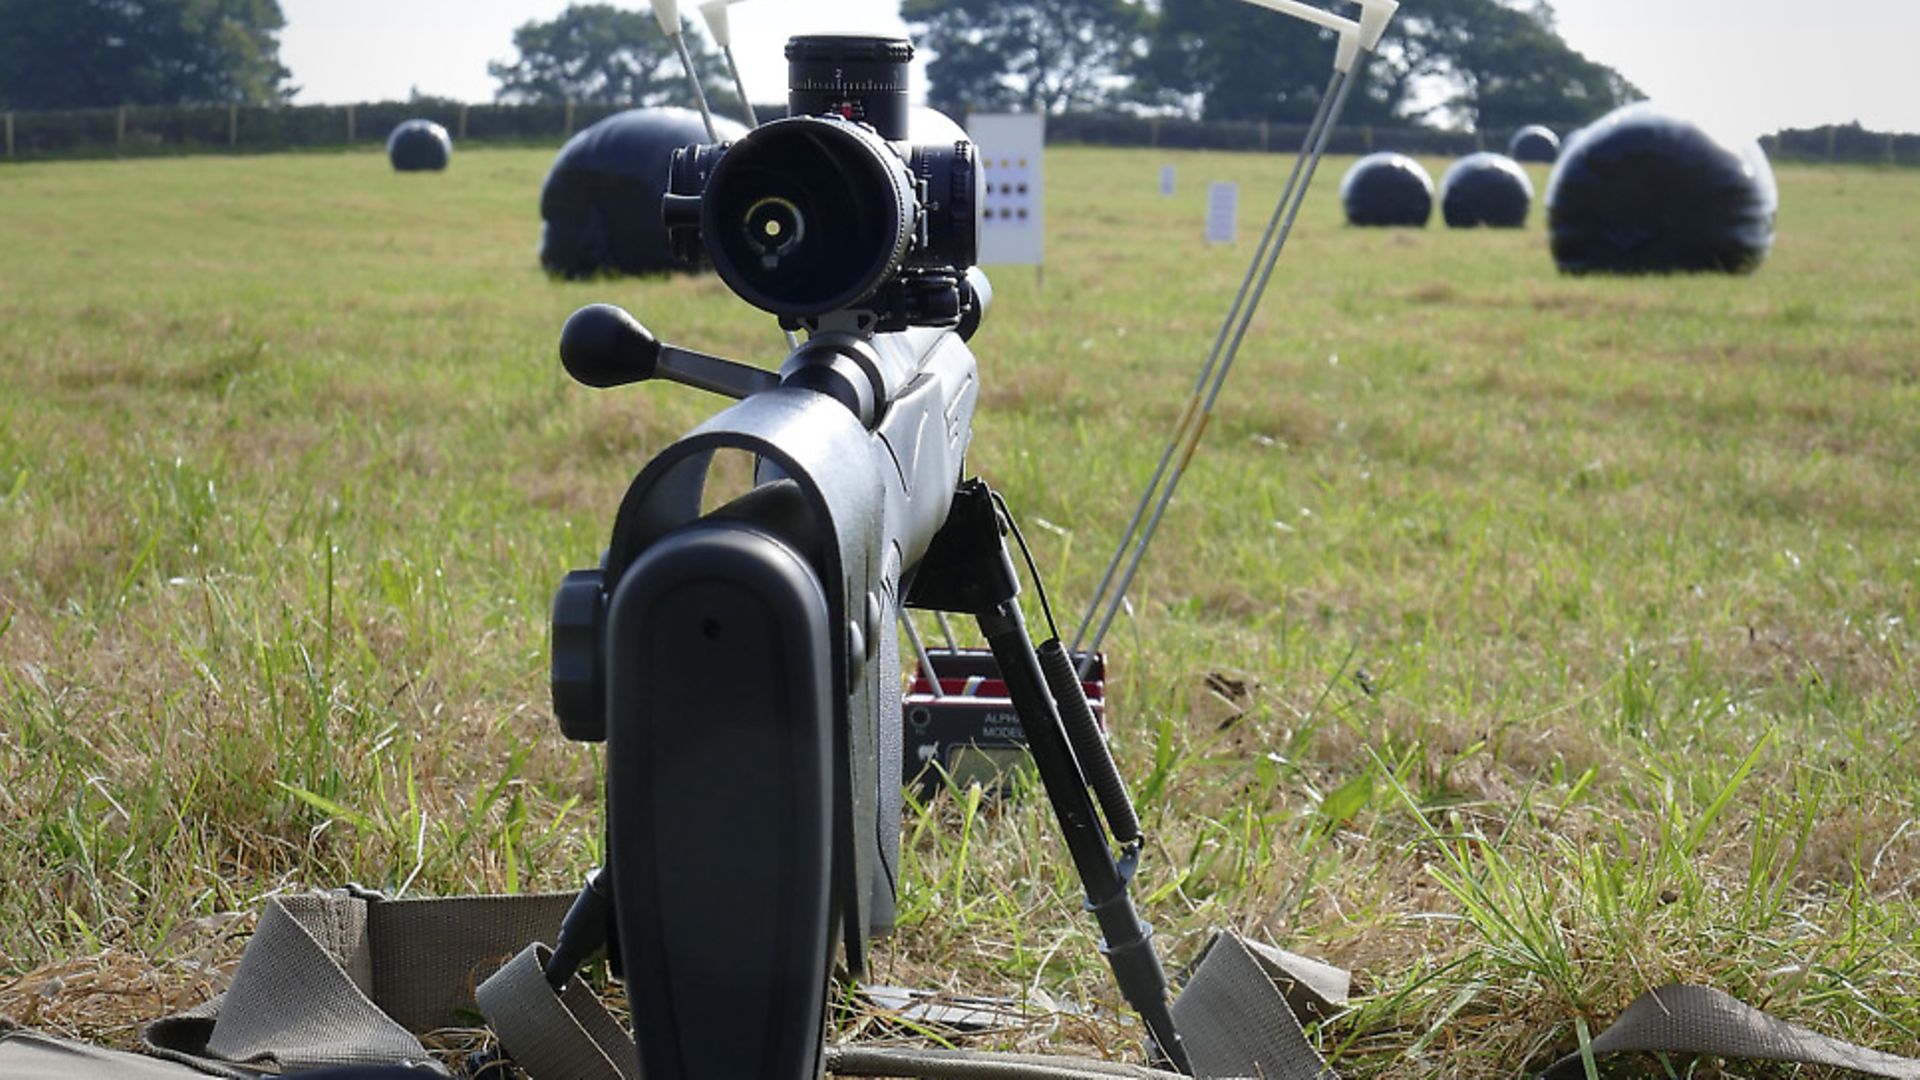 credit: Archant
Find the free target download and accompanying video to this article here
If you’re looking to accurise a centrefire out to 300 metres and beyond or perhaps stretch a rimfire past the 100m mark, a simple zero, or the classic 1” high at 100 yards isn’t really enough. For extended range you definitely need to do a little more homework.
Combining the scope, the software, the round and the rifle with real-world ballistics is the key and for that a ballistic calculator is an absolute essential. Unless all of the above are synched together in a consistent and repeatable package, long-range shooting is very much a hit and miss affair.
 credit: Archant
Expert opinions
A couple of years back I had my introduction to long-range ballistics courtesy of Mr Richard Utting. Richard is something of a ELR expert and definitely the right guy to speak to when it comes to really stretching your rig. My training day started in the car park of a hotel on the edge of the Yorkshire moors. The unmistakeable figure of Mr Utting appears, sporting his trademark fedora tipped at a jaunty angle. Smiles, handshakes and the usual niceties and we’re off to the hill!
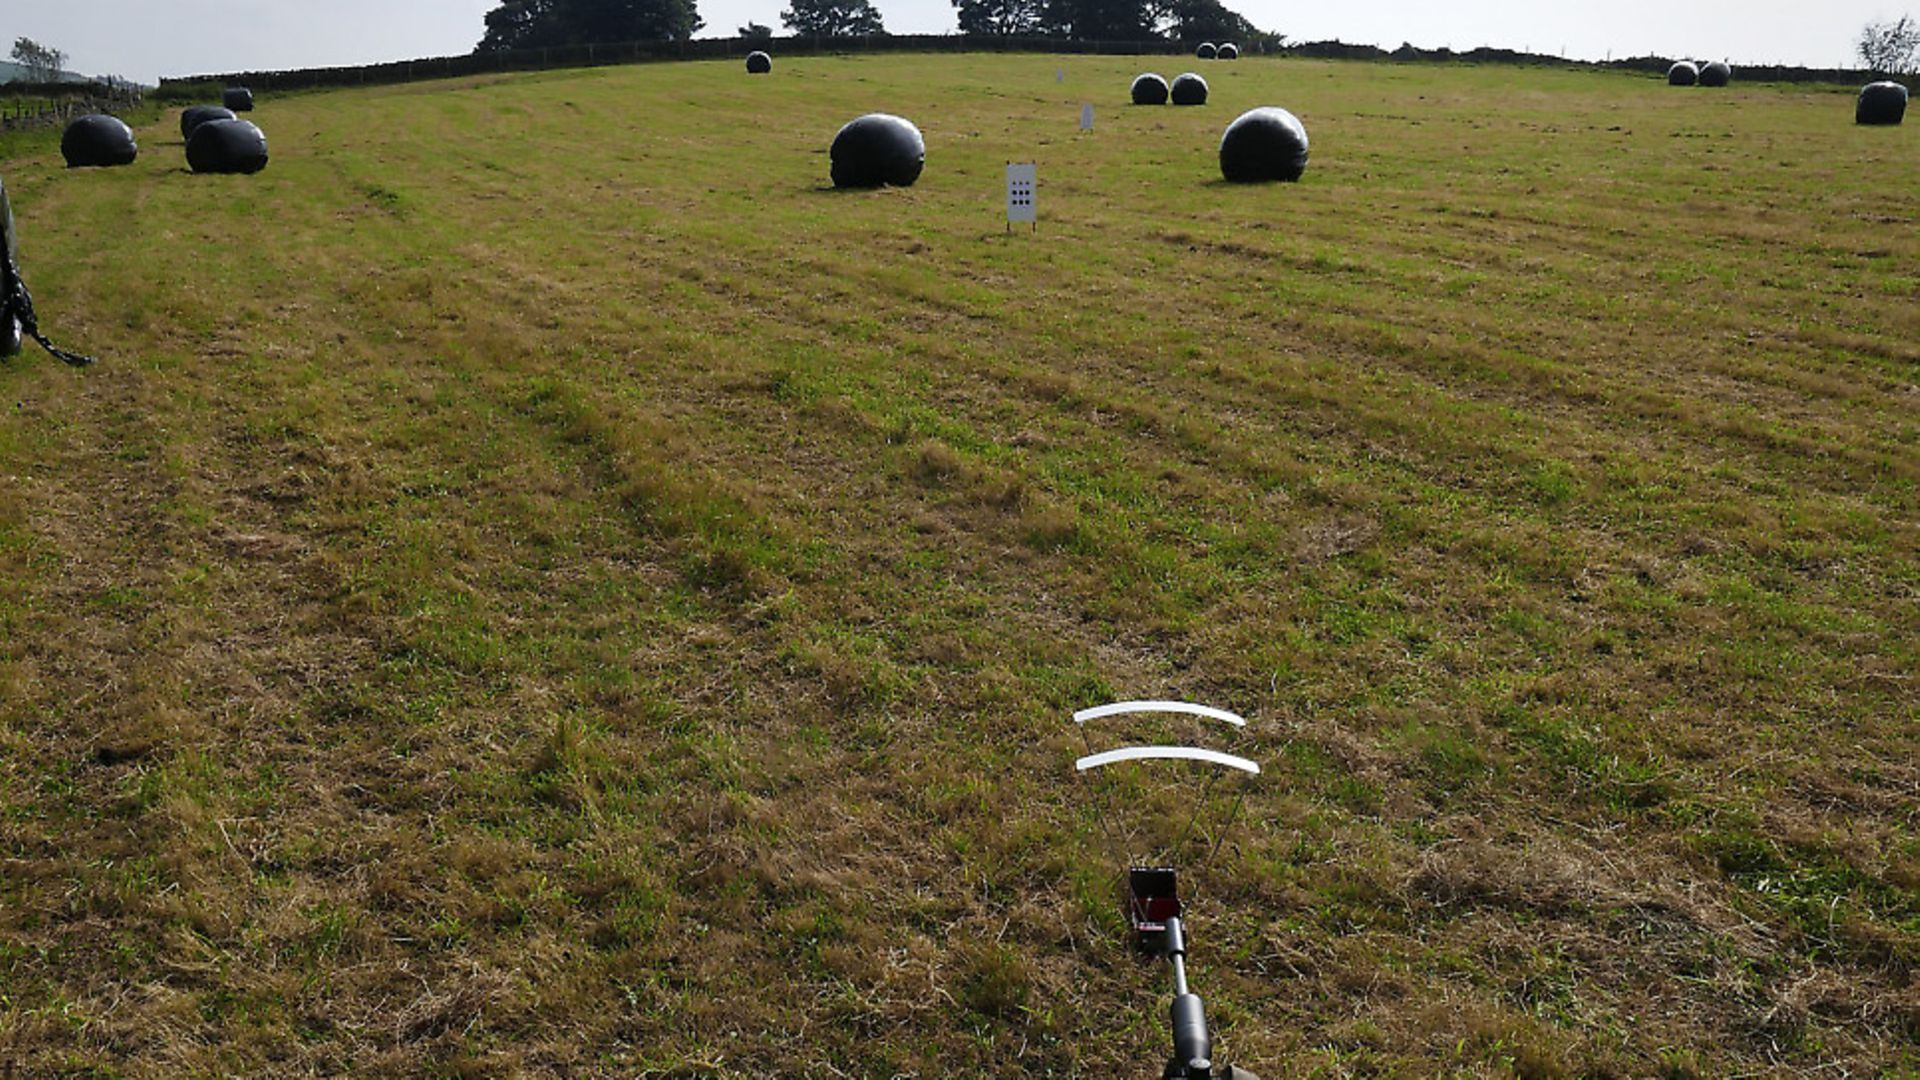
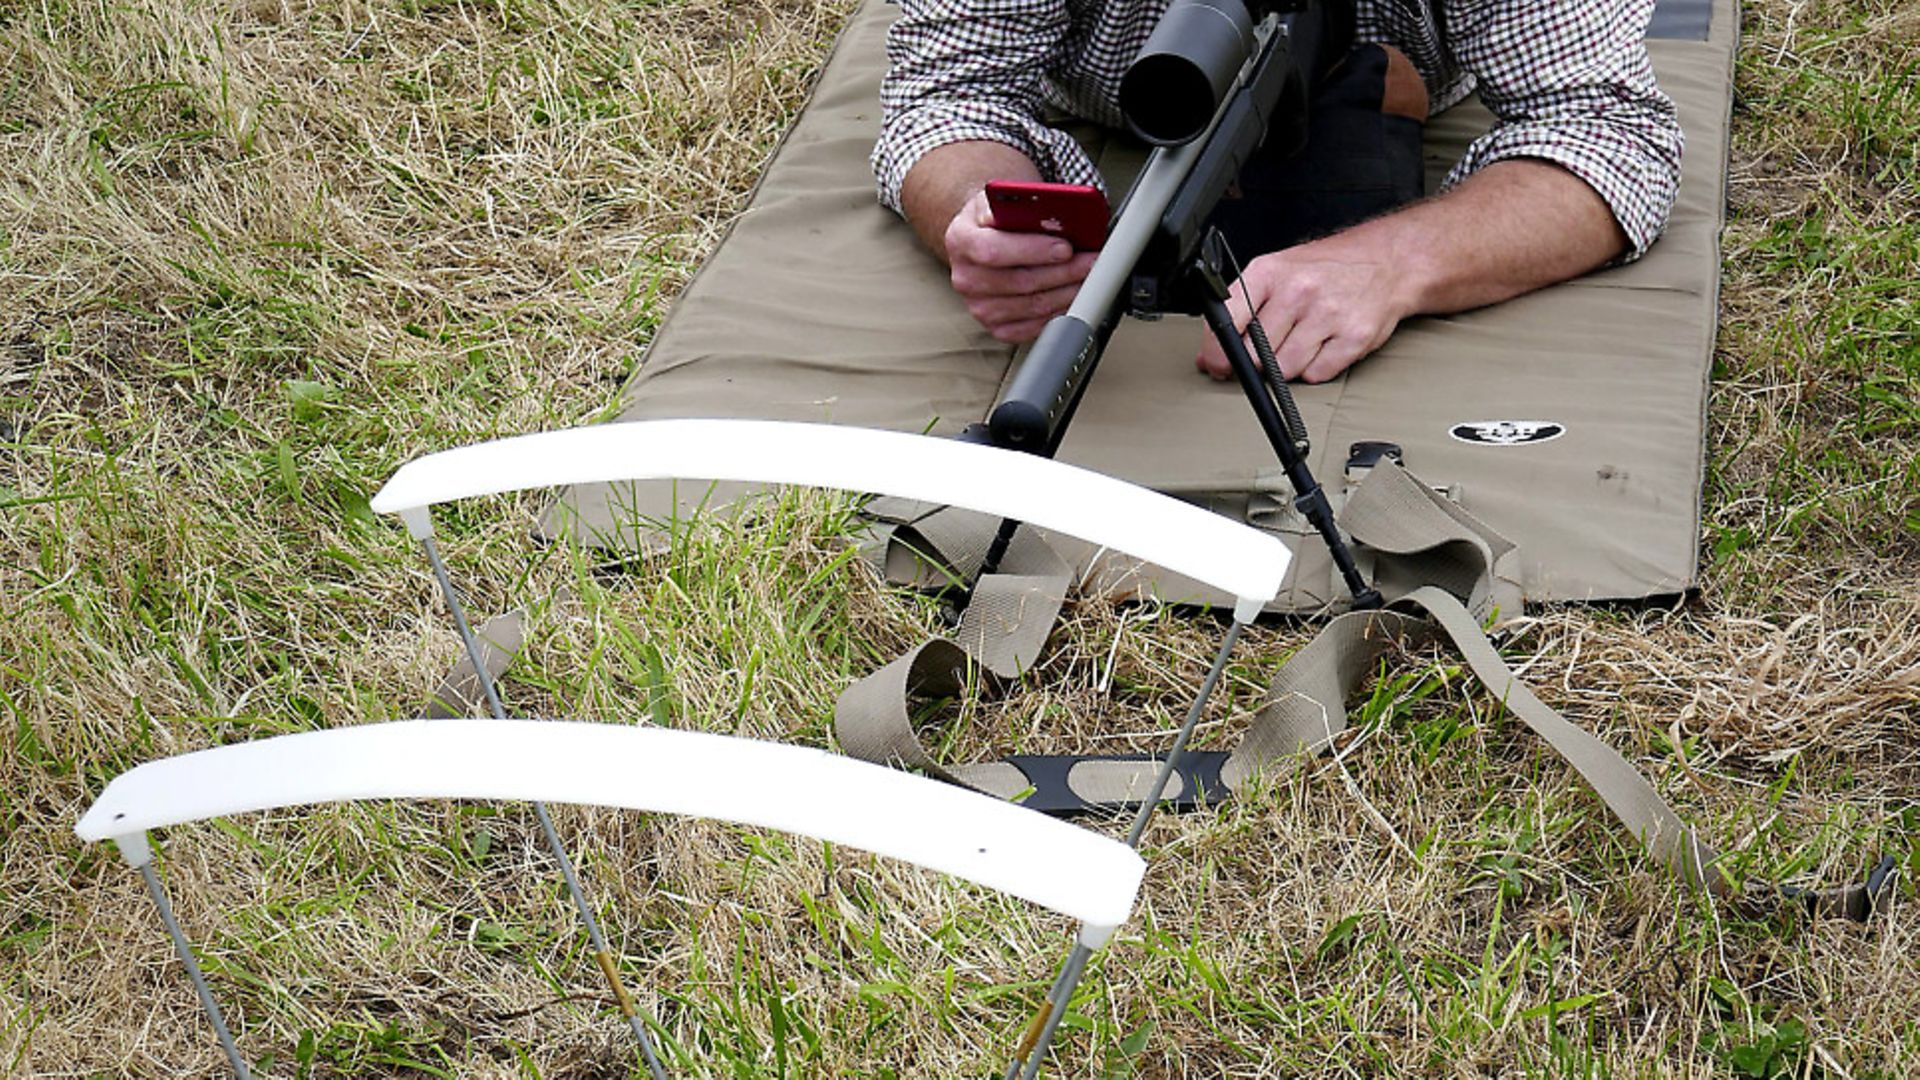
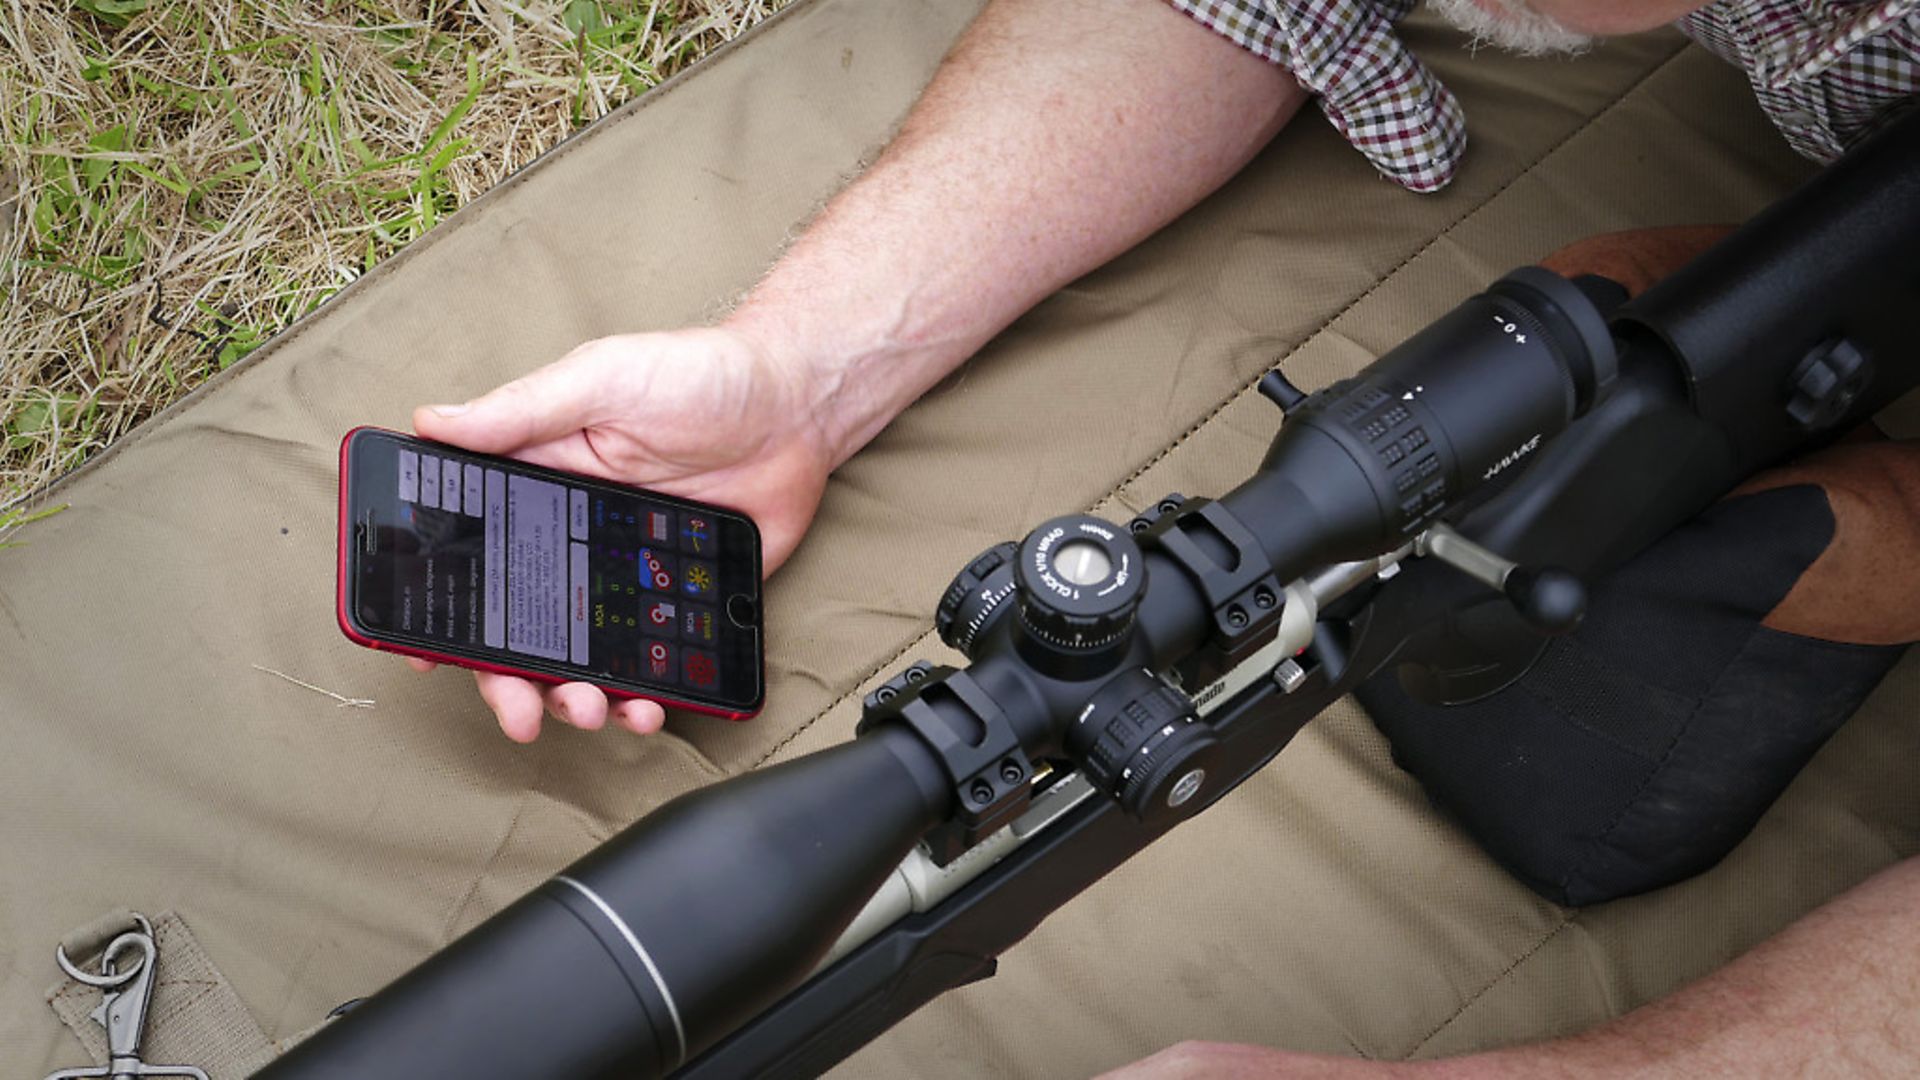
A short drive over the tops and we arrive at the range. The first job is a quick trip across the valley to spray paint a few stones luminous yellow for initially zeroing. Back to a shooting position and the lessons begins. A good proportion of the morning is spent going through Strelok Pro app, with Richard adding data for your gun, while explaining in detail how the various ballistic elements combine.
The whole app was covered, providing me with a solid grounding on the relative importance of the core features. With the Strelok profile complete it’s time to marry my virtual data to the real world.
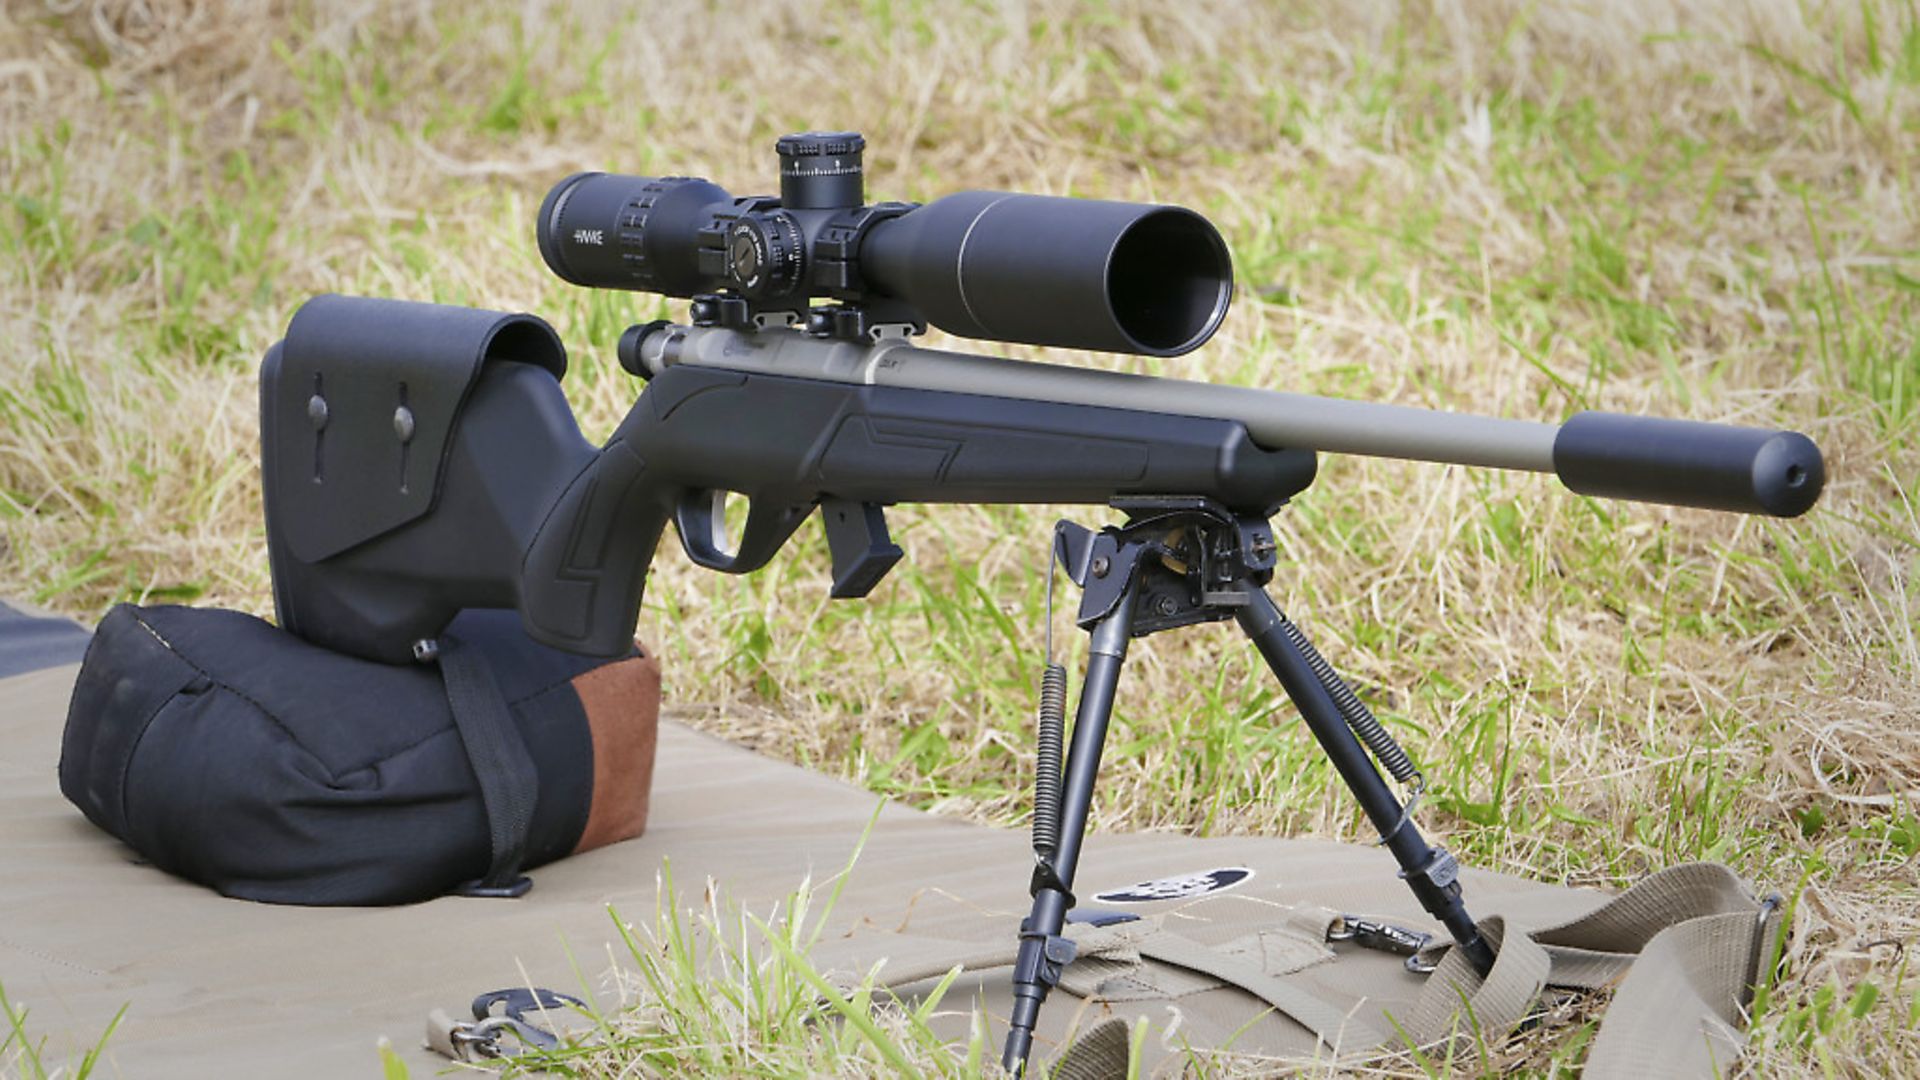
Richard strapped his much-loved MagnetoSpeed chronograph to my rifle. At this point it’s worth mentioning the scale of the challenge. At the time my much-loved Tikka T3x varmint in .243 was very much in an ‘out of the box’ state, with a fancy bolt handle being the only custom element in the set-up. A cheap but functional Falcon M18+ 4-18x44 FFP scope sat within cheaper rings, accompanied by completely the wrong ammo for long-range!
Just before the training day I realised I didn’t have enough ammo, around 70 rounds being recommended. A mad dash to McAvoys gunshop found me nattering to my equally obsessed shooting buddy Craig behind the counter. A big fan of SharpshootingUK (Richard’s YouTube channel) he was all ears. My initial request for 75 grain bullets (or above) was soon forgotten as a meandering conversation developed.
“Have you tried these…” says Craig, thrusting some Federal Premium across the counter. “They’re great, my Sako loves ‘em” he says... “I’ll take em!” As it turned out my Tikka does indeed love ‘em, in either their 55gr or 70gr varients. Alas, on closer inspection the following morning I spotted 55gr emblazoned on the box! A great flat-shooting varmint round, but definitely not ideal for ELR shooting.
I braced myself for a bit of abuse from Richard for my obvious lack of preparation but he didn’t say a word. “Ok let’s get started,” he says. After shooting a short string for the benefit of the chrony and updating Strelok accordingly, along with scope height and bullet data, we were good to go.
 credit: Archant
The long zero
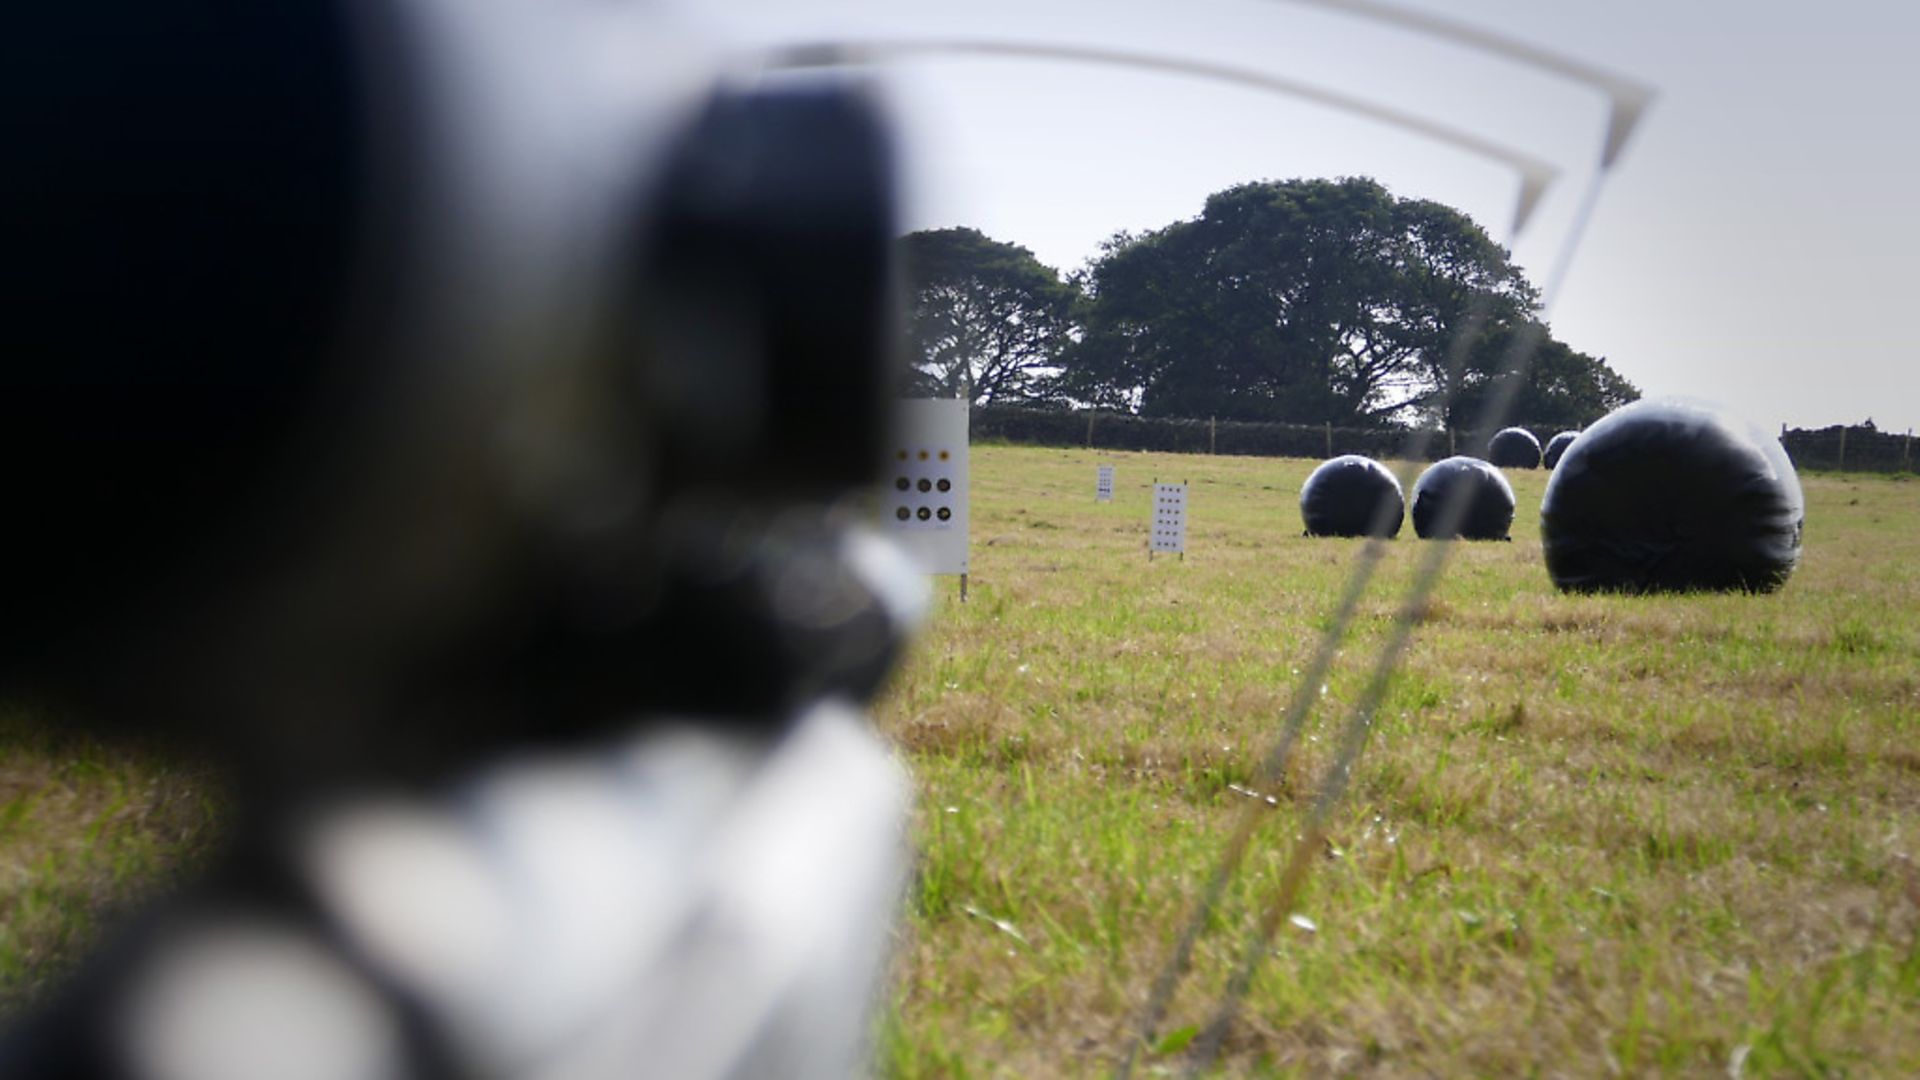
“Right, let’s get your zero sorted out.” said Mr Utting. I opted for 150 yards as my target zero and Richard pinged the now microscopically small stones accross the valley. “389 yards, we’ll start there.” At this point I realised our methods of zeroing a rifle were radically different. With more than a bit of trepidation I got behind the gun. After walking me into the target and adjusting for wind I actually started hitting. When we were both 100% happy with the elevation the order was given to set 150-yard zero.
This was done by running the firing solution through Strelok Pro for a 150-yard shot based on the current 389-yard zero, dialling accordingly and then resetting the turrets. Essentially you get bang-on at long-range and then work out your preferred zero from that. Now many of us, myself included, rarely get the opportunity to zero a rifle in this way but if you can you should, and if you’re really serious about ELR you pretty much have to in order to achieve optimum results.
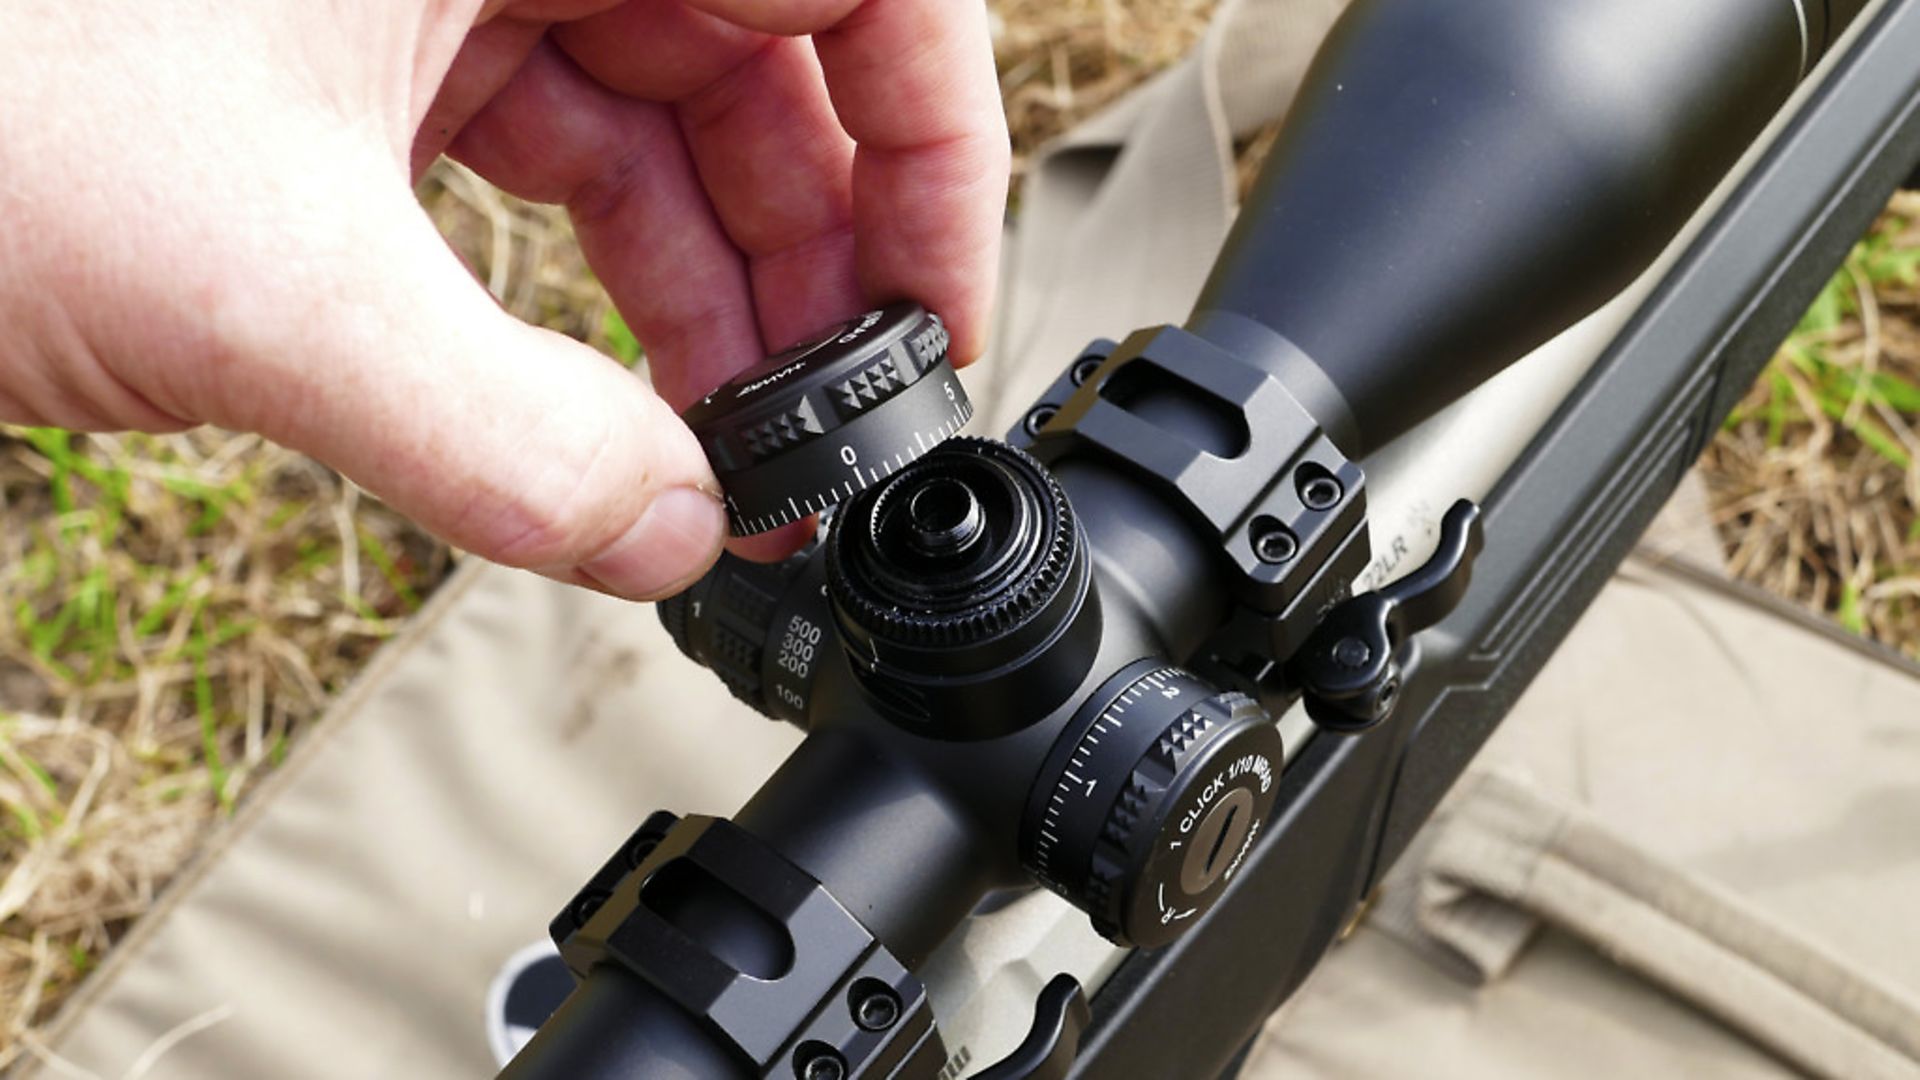
If there’s a noticeable difference between the dialled ‘new 150-yard zero’ and your actual POI it’s likely that the click values are slightly off on your scope. Thankfully Strelok can calculate your actual click values with the aid of its ‘click value validation’ feature which you’ll see detailed elsewhere in the article.
At the end of the day your zero is just the point in space where the bullet and the reticle intersect, the exact distance is irrelevant as long as it’s roughly based on your preferred range and typical shooting distances.
Shooters often obsess about an exact 100-yard or 100m zero but it’s the perfect marriage of calculated and real-world ballistics that’s important. So, if it’s a, 70m, 110m, 150m or 200m it doesn’t actually matter, as long as the calculations real-world performance match.
To check Strelok’s calculations were still in-synch, Richard had me dial from the newly acquired 150-yard zero to a 500-yard, 3-inch gong. The first shot missing left by a smidge, one more click of windage and it’s a hit!
Comparing the impacts from Richard’s 147gr 6.5 Creedmoors, it was clear my 55gr bullets were reaching their limit at 500 yards, but given a heavier load I’m pretty confident I could have reached out to the 800-yard gong – a testament to both the technology and training.
 credit: Archant
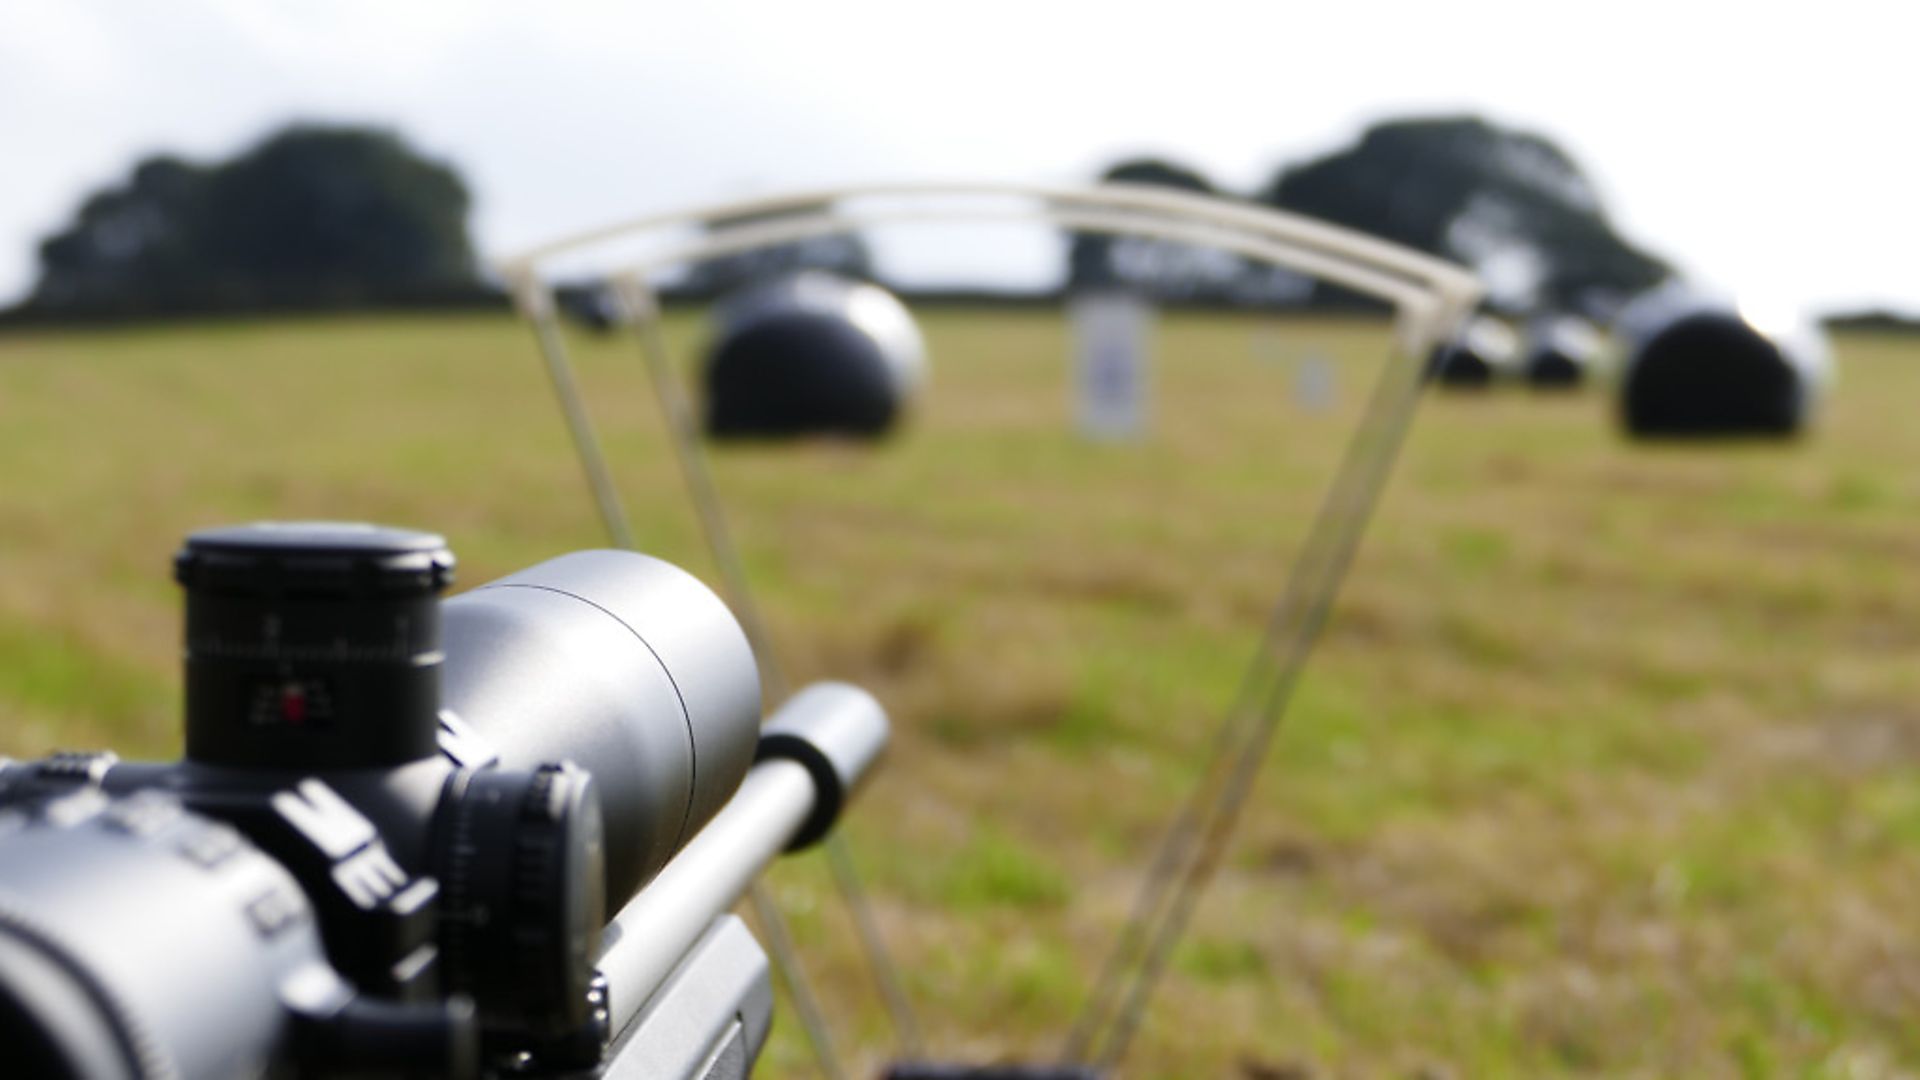
Richard assured me the hill is riddled with rabbits in the summer and he regularly has clients nailing bunnies between 600 to 800 yards, with the odd F-Class shooter reaching out as far as 950. The part of the range we were shooting had gongs placed at 475, 500, 550, 630, 800, 1000 and 1208 all available from one firing position. Really long guns can even shoot out to 2000 yards if they fancy it.
Myths & legends
At the end of the day Richard loaded up the profile for his big rig and we ran calculations with and without the Coriolis effect (the spin of the earth) factored into the Strelok equations at 1230 yards. The results: a clean miss by 4 inches low and 6 inches right without adding it into the final firing solution.
We had similar results with and without spin drift, a foot right and a foot low and the same with vertical crosswind deflection removed for the equation. Both of which are exacerbated by wind strength and angle. Many write such things off as the fantasies of Hollywood script writers but at extreme long-range they’re very real indeed.
Richard Utting is obsessed with long-range shooting and the theories and technologies behind it. There’s a lot to take in on a training day but if you’re serious about your shooting and want to not only improve your accuracy but also your understanding, a day on the hill with Richard is the ideal way to do it (see contact details on p50 for more information).
 credit: Archant
Initial set-up
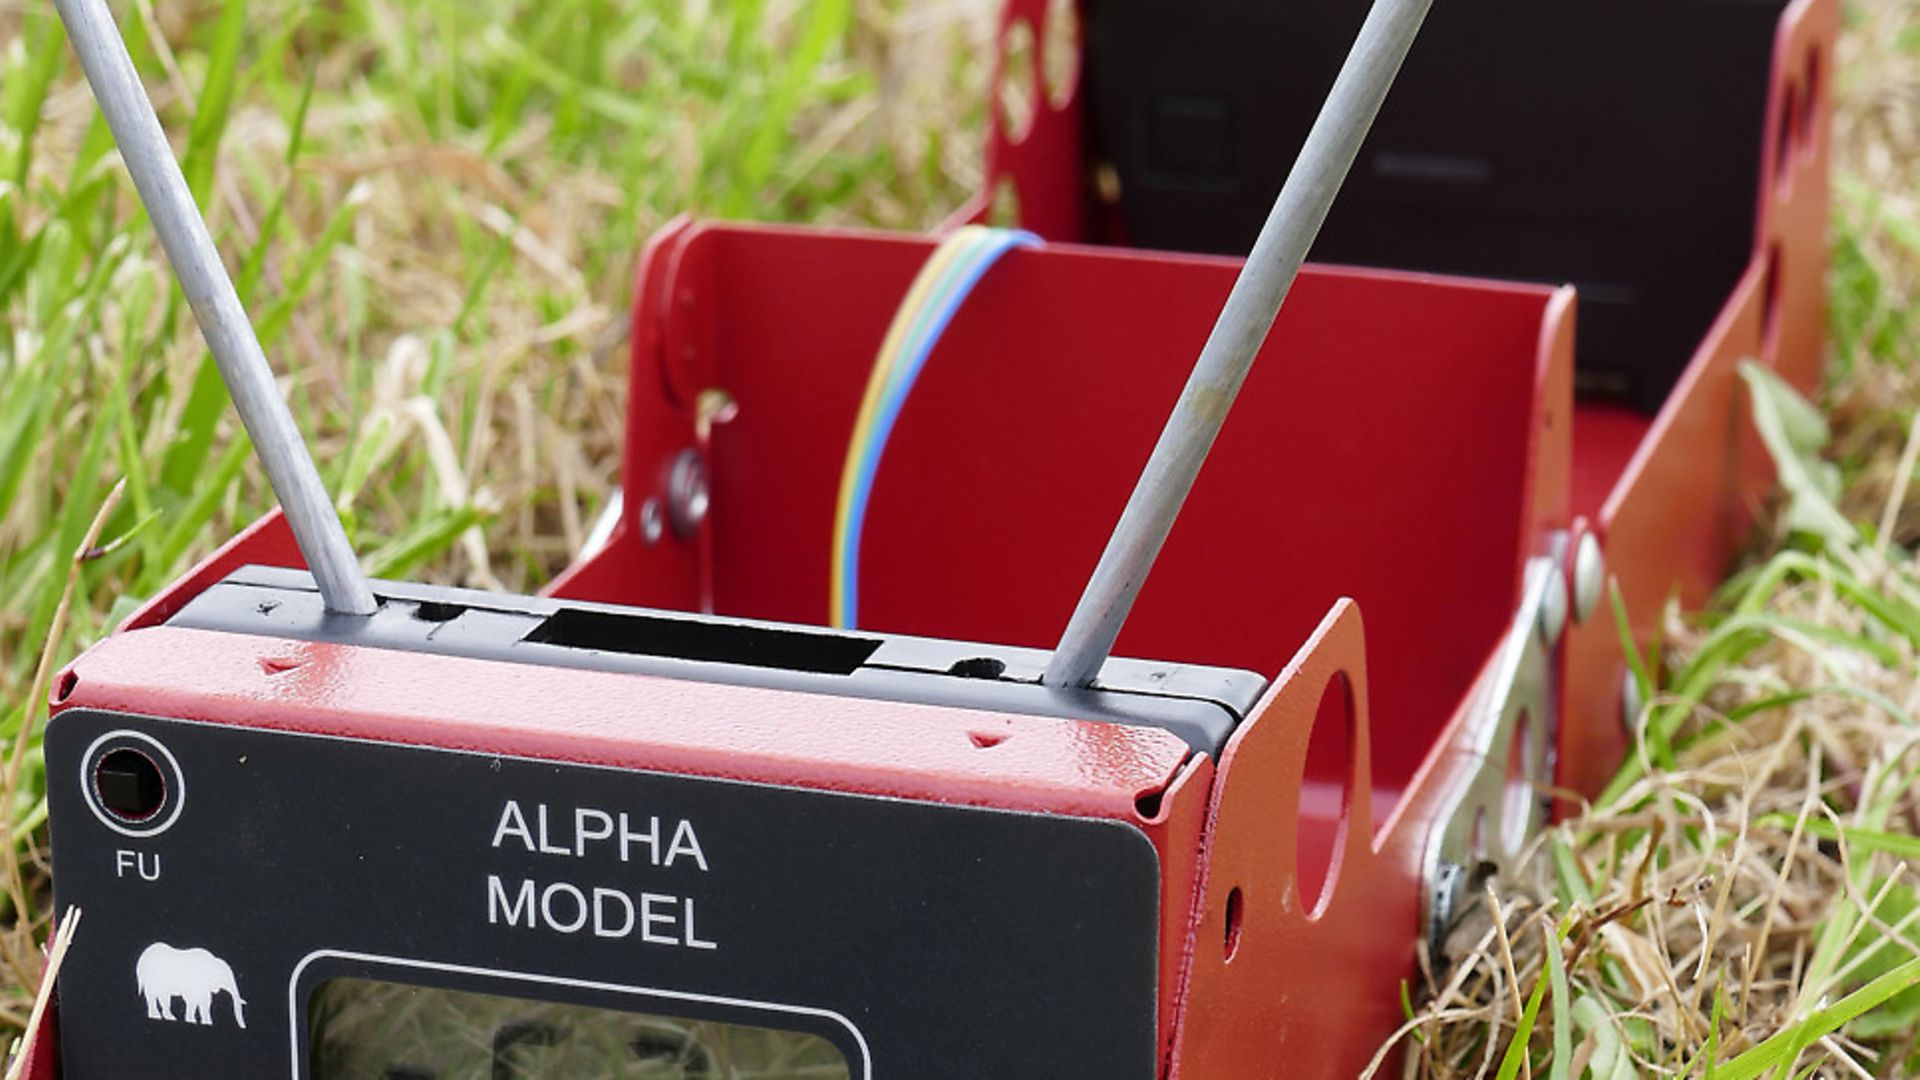
If you don’t have the time or money for one-to-one training you can still cover all the basics yourself. All you need is Strelok Pro and a little patience. Apart from the app the only other essential is a chronograph, although a digital calliper is also handy. This chrony can be bought or borrowed but it’s the one piece of kit you do need in order to really fine tune your accuracy.
First and foremost, get yourself a round that loves your barrel and stick with it. A few more fps is pointless if you can’t hit what you’re aiming at. Secondly, establish your actual muzzle velocity (MV) with the aid of the chrony. The figures quoted by ammo manufacturers are often a bit optimistic to say the least, being somewhere between 5% and 10% off the mark in a typical barrel.
Not surprisingly they will always test their ammo in barrels ideally suited to that particular calibre and weight, with barrel lengths of 24” and above often employed to squeeze out optimum speed. The average speed of a 5, or better still 10-shot string should be enough to give you a reliable real-world muzzle velocity.
Once bullet speed is established it’s time to move on to BC (ballistic coefficient). When you load a new cartridge into Strelok Pro its standard BC is included but that doesn’t mean that will match your particular rifle.
 credit: Archant
The drop test
The best way to establish your actual BC is to at least double your current zeroing distance, shoot directly at the bullseye and then measure the drop of POI on the target, adding that distance into Streloks ‘Trajectory Validation tool’. This is known as truing your ballistics.
With the ‘BC’ rather than ‘Speed’ tab selected, punch in the distance shot, the correction units and then hit calculate. Strelok will then generate your actual BC, then simply click ‘Use this BC’. It’s a little more work but I always use the ‘cm’ option for the correction units and physically measure the distance with a ruler to the group centre -– It just ensures a bit more accuracy.
 credit: Archant
Scope height
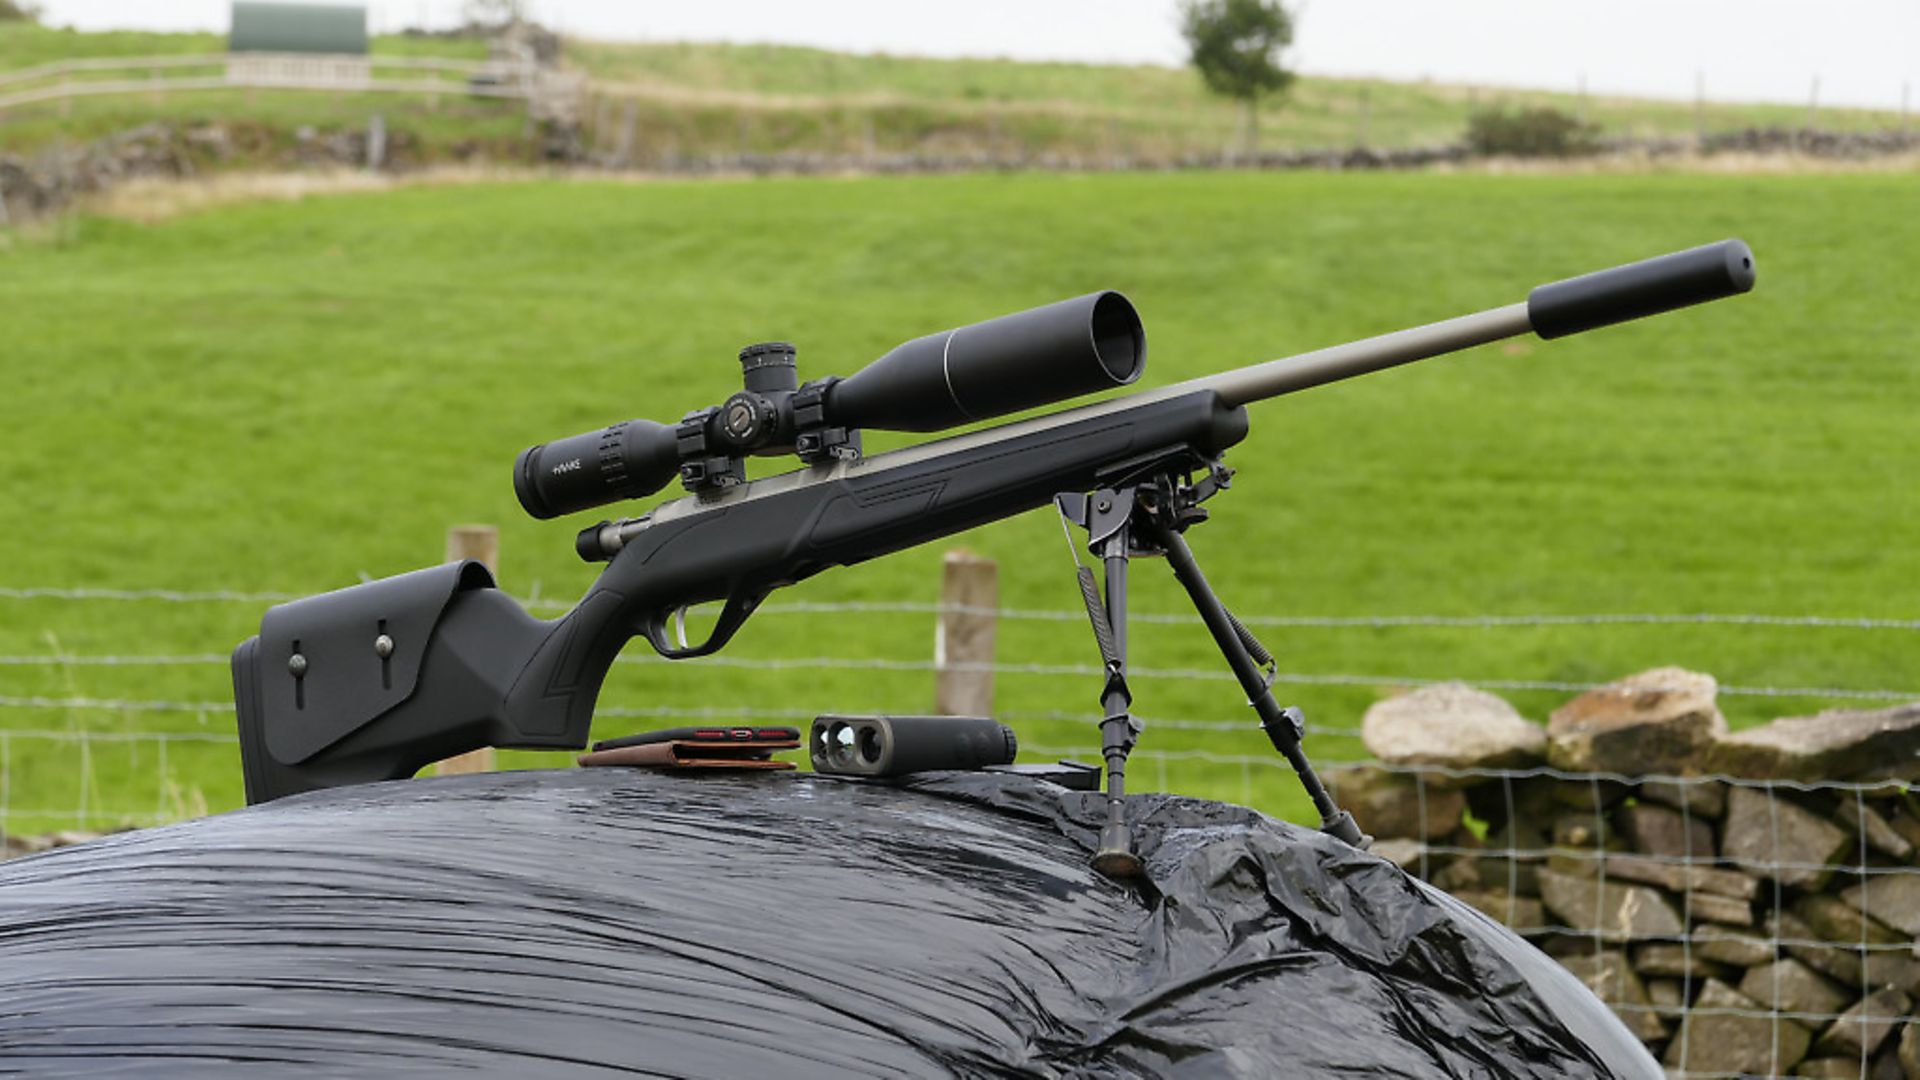
You should now have your actual MV and your custom BC. Another critical element in the equation is to establish your scope height. The quick and dirty method is to measure from halfway down the barrel to the gap between your scope rings.
Alternatively, measure the outside of your scope, the width of your barrel and the gap between the two, ideally with a digital caliper. Now halve the first two figures and add them together. Finally, add the barrel and scope gap measurement and you’ll have an accurate centre bore to centre scope height. Punch the data into Strelok and you’re ready to zero your rifle.
More often than not Strelok Pro’s cartridge database fills in all the other information such as bullet weight, length, grains etc when using factory ammo but just double check you’re using exactly the right cartridge from those available
in the database.
 credit: Archant
Click validation and box testing
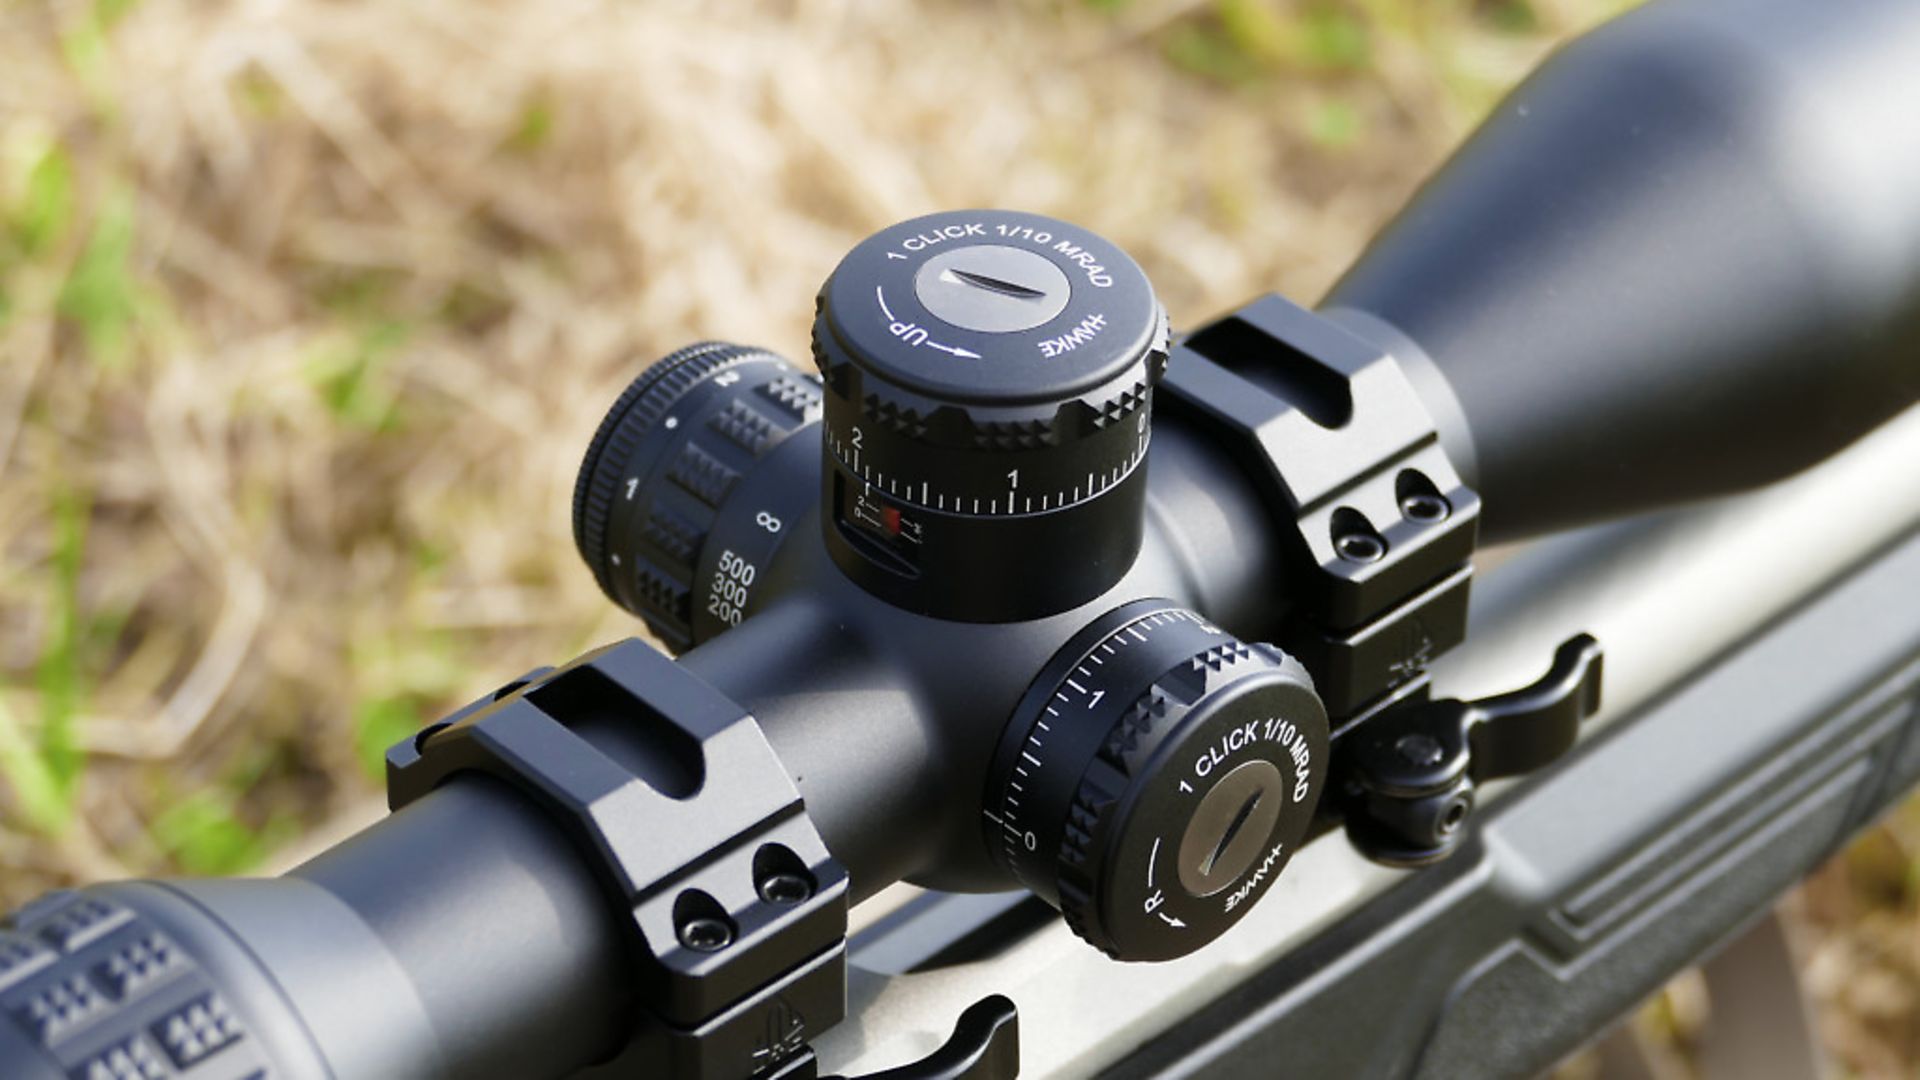
As mentioned earlier in the article, if the theoretical ballistics within Strelok Pro aren’t quite matching your real-world results it’s likely that the click values of your scope aren’t 100% accurate. Below 300 yards, and with a typical centrefire, any error may be difficult, if not impossible, to spot but stretch things out to 4/500m and beyond and things can get quite sketchy if you’re click values aren’t spot on.
Thanks to a fairly recent addition to Strelok there’s a simple solution to the problem of click validation. In this example I’ll be illustrating the principle with a mildot scope but the same basic principles apply to MOA.
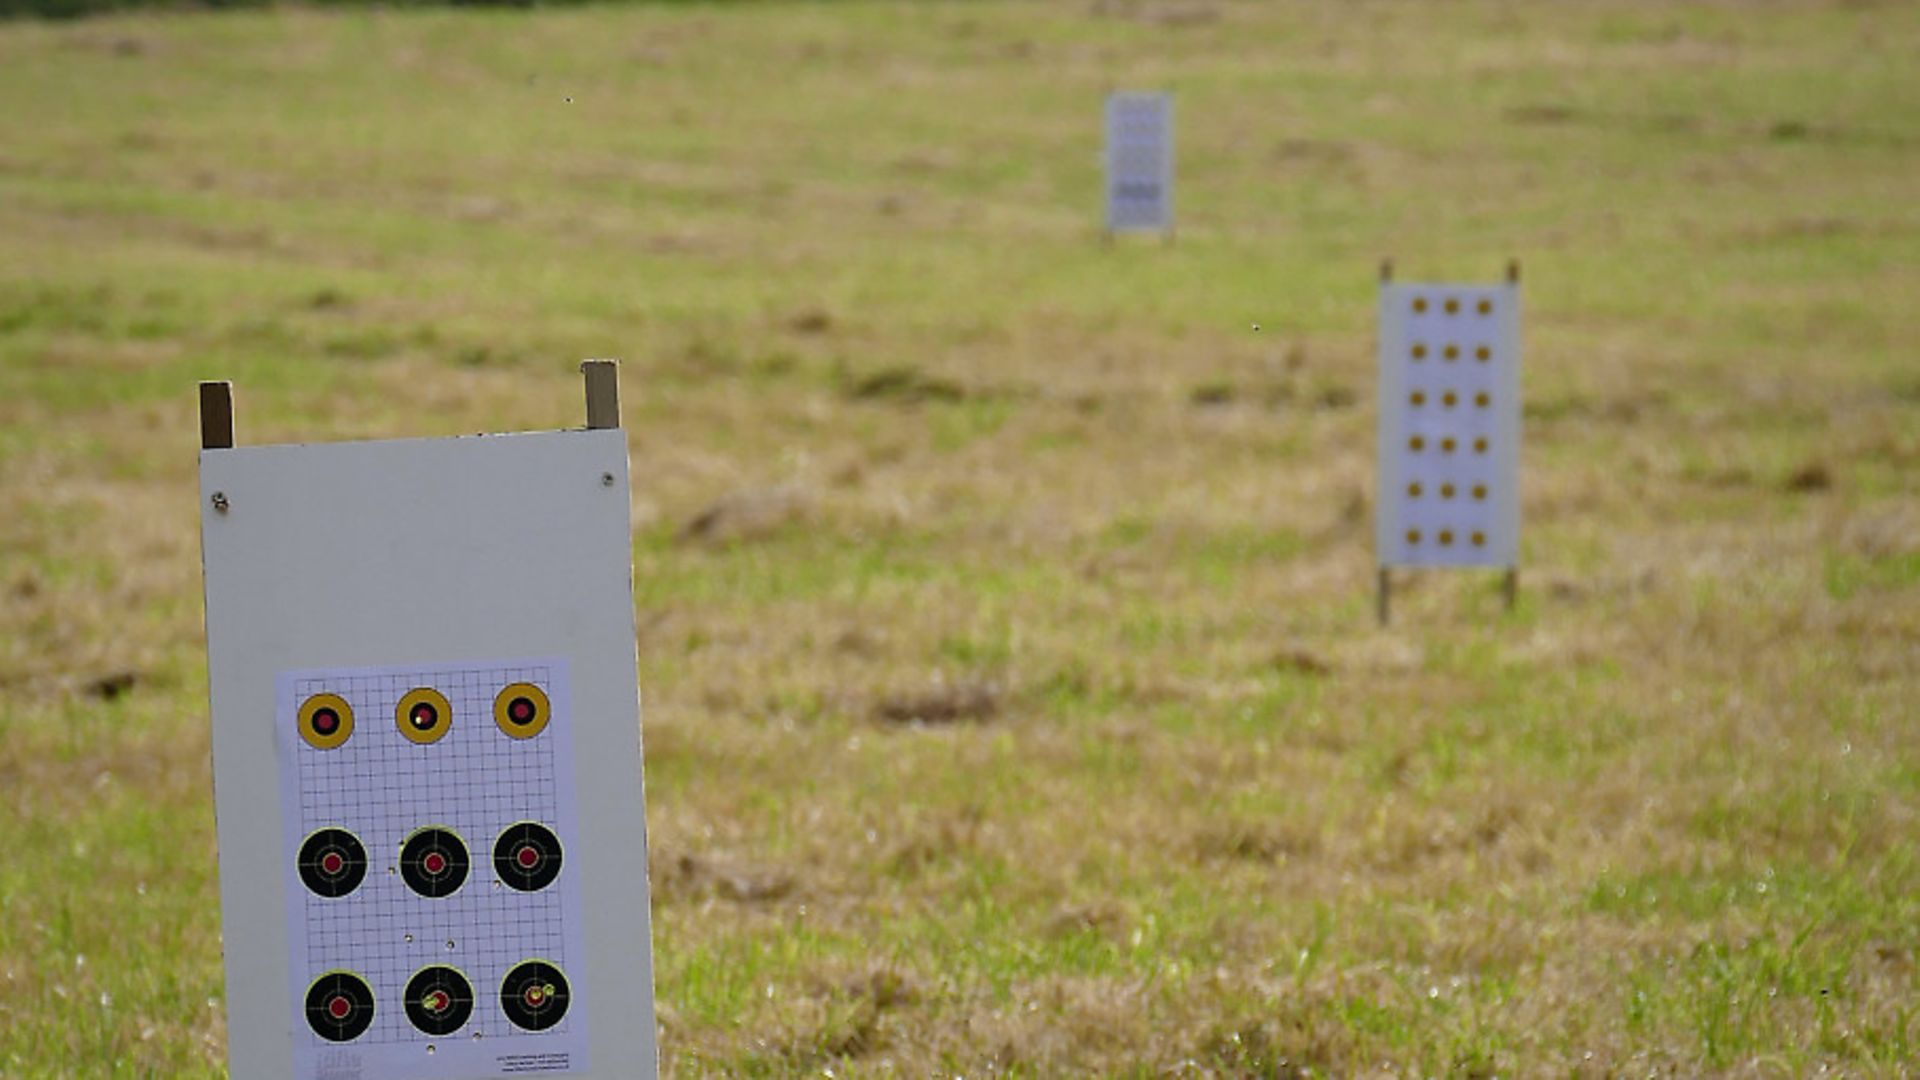
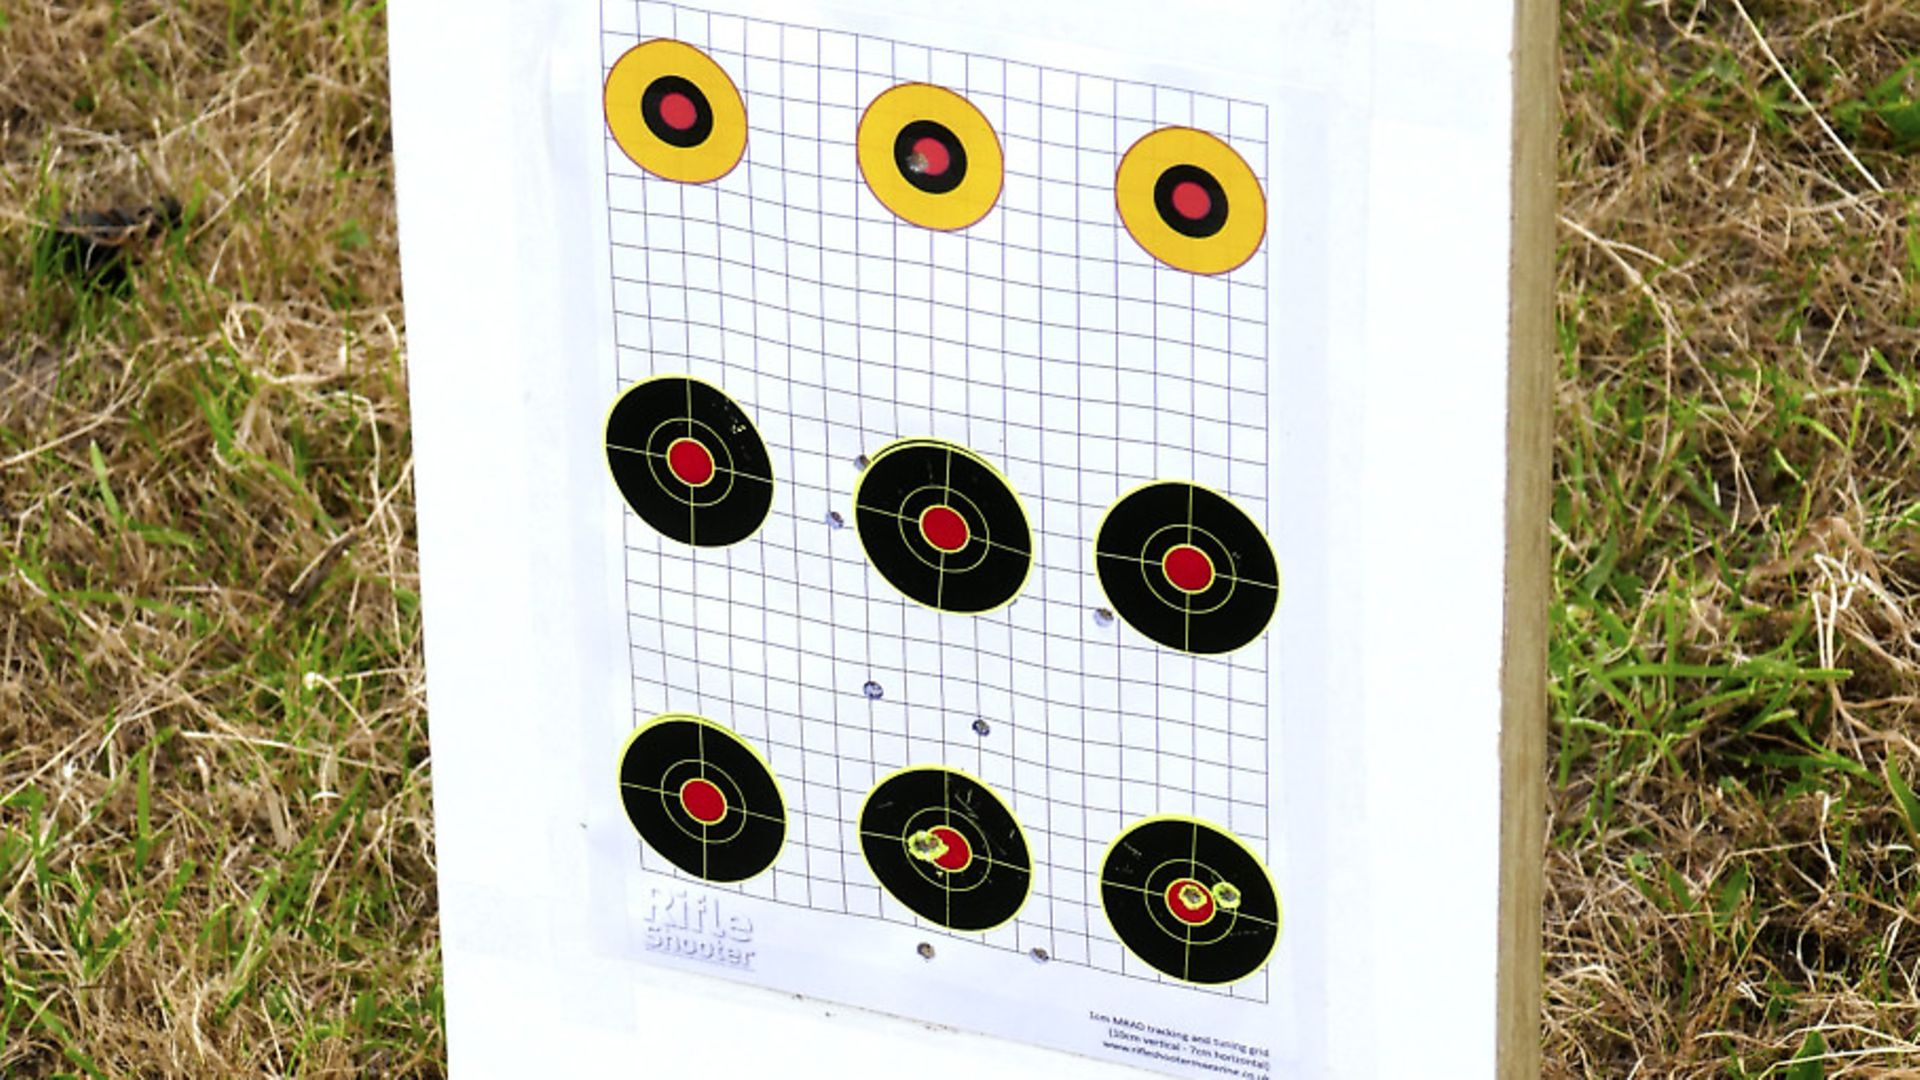
Firstly, zero the rifle at 50 or 100m depending on what you’re shooting (rimfire/centrefire). Next place a piece of A4 on the target with an aim point 3/4cm in from the bottom centre of the page. You can add a vertical line from the aimpoint dashed out in 1cm increments but it’s easier to simply download RS A4 target linked to this article and print one off as required.
Next, put the crosshairs on the aim point and dial up your scope 20 clicks or 40 at 50m and take a few shots as carefully and as accurately as possible without moving the rifle. Now retrieve your target and, using calipers, carefully measure to the group centre from the original aim point. If it’s exactly 20cm, perfect; if not, just punch your measurement into the click value validation screen in cm, along with the distance shot and the number of clicks applied, then hit calculate and ‘Use this value’. Strelok will then update your vertical click value.
I generally just cut and paste this figure into the horizontal click value but you could put out a new target and turn it on its side and repeat the process for windage. Although, remember not to click ‘Use this value’, as it will overwrite your new Vertical setting -– just make a note of it and punch that into the Horizontal click settings back on the main scope settings page.
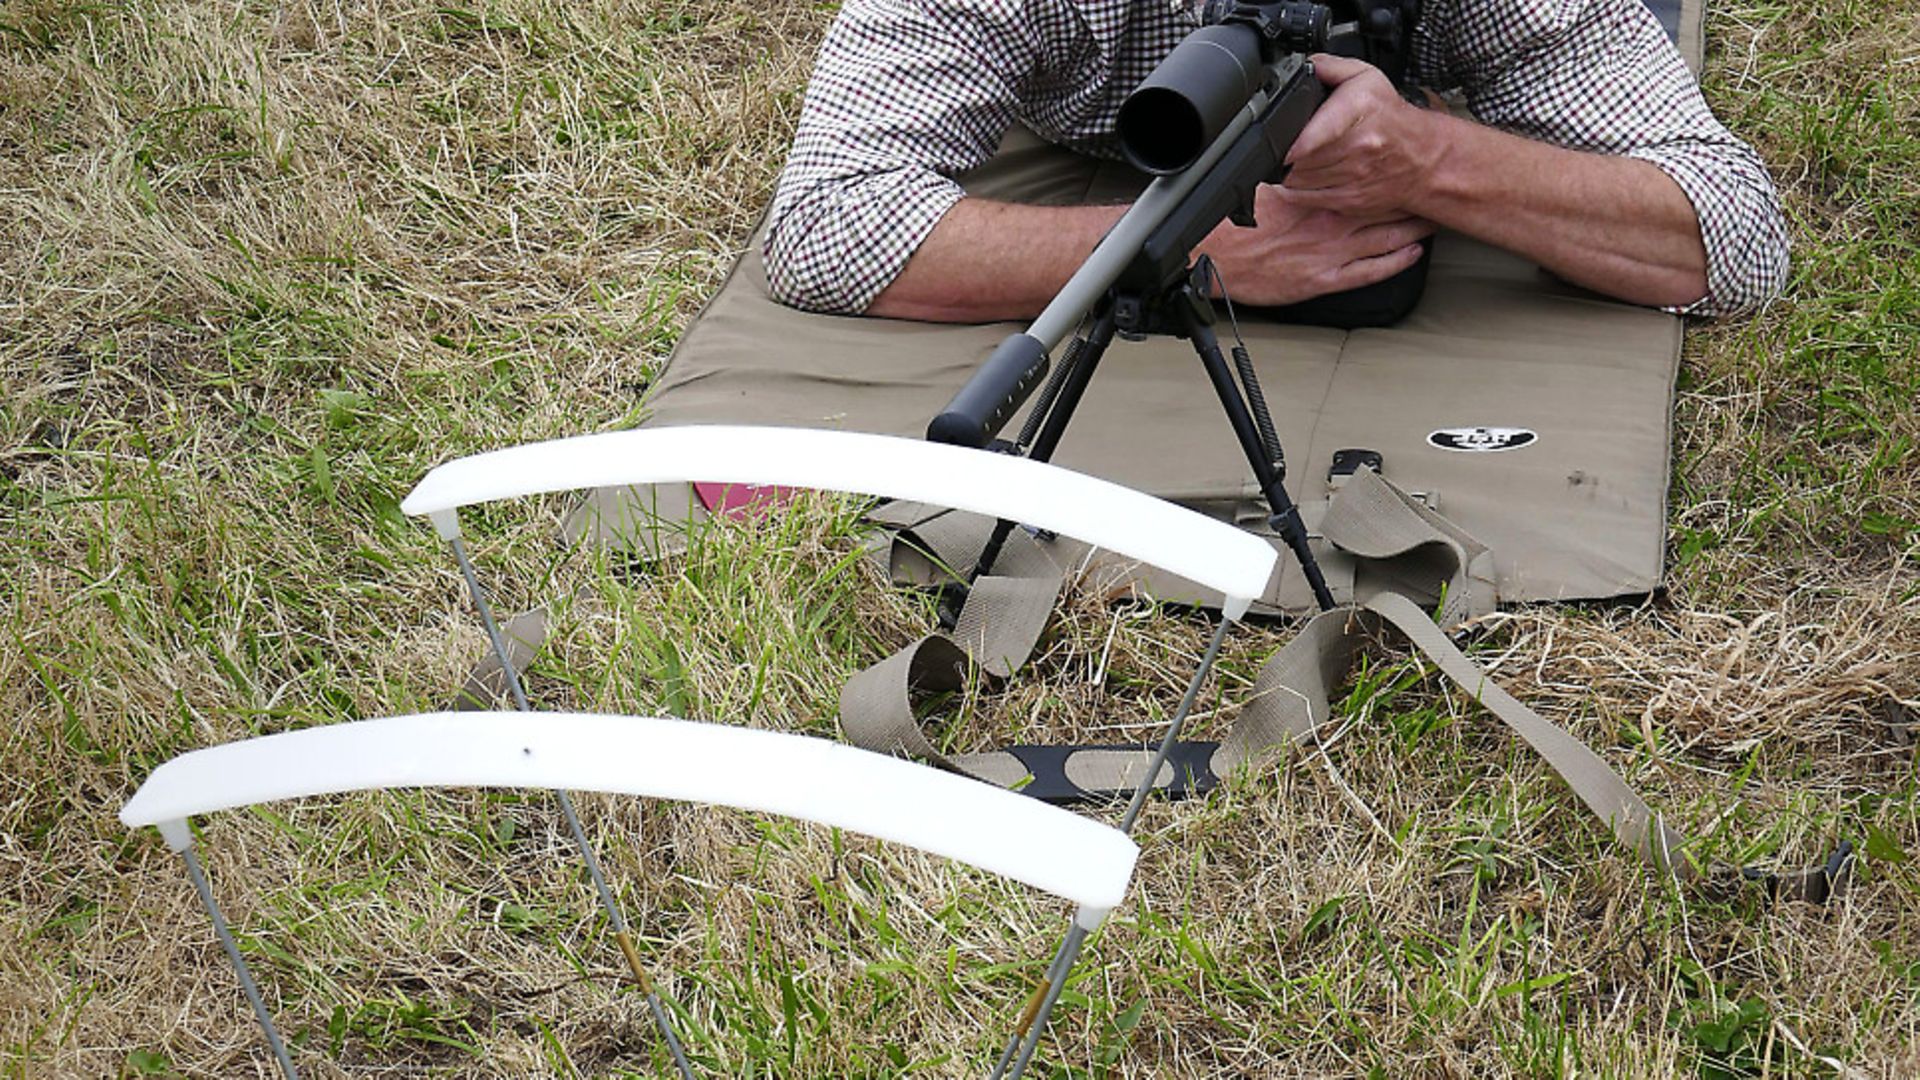
To be 100% sure your scope click values and tracking are correct you can also do a box test. This is similar in a way to the BC drop test and click validation, although you may need a piece of A3 paper for this one if you really want to push the windage, as A4 is only roughly 20cm wide.
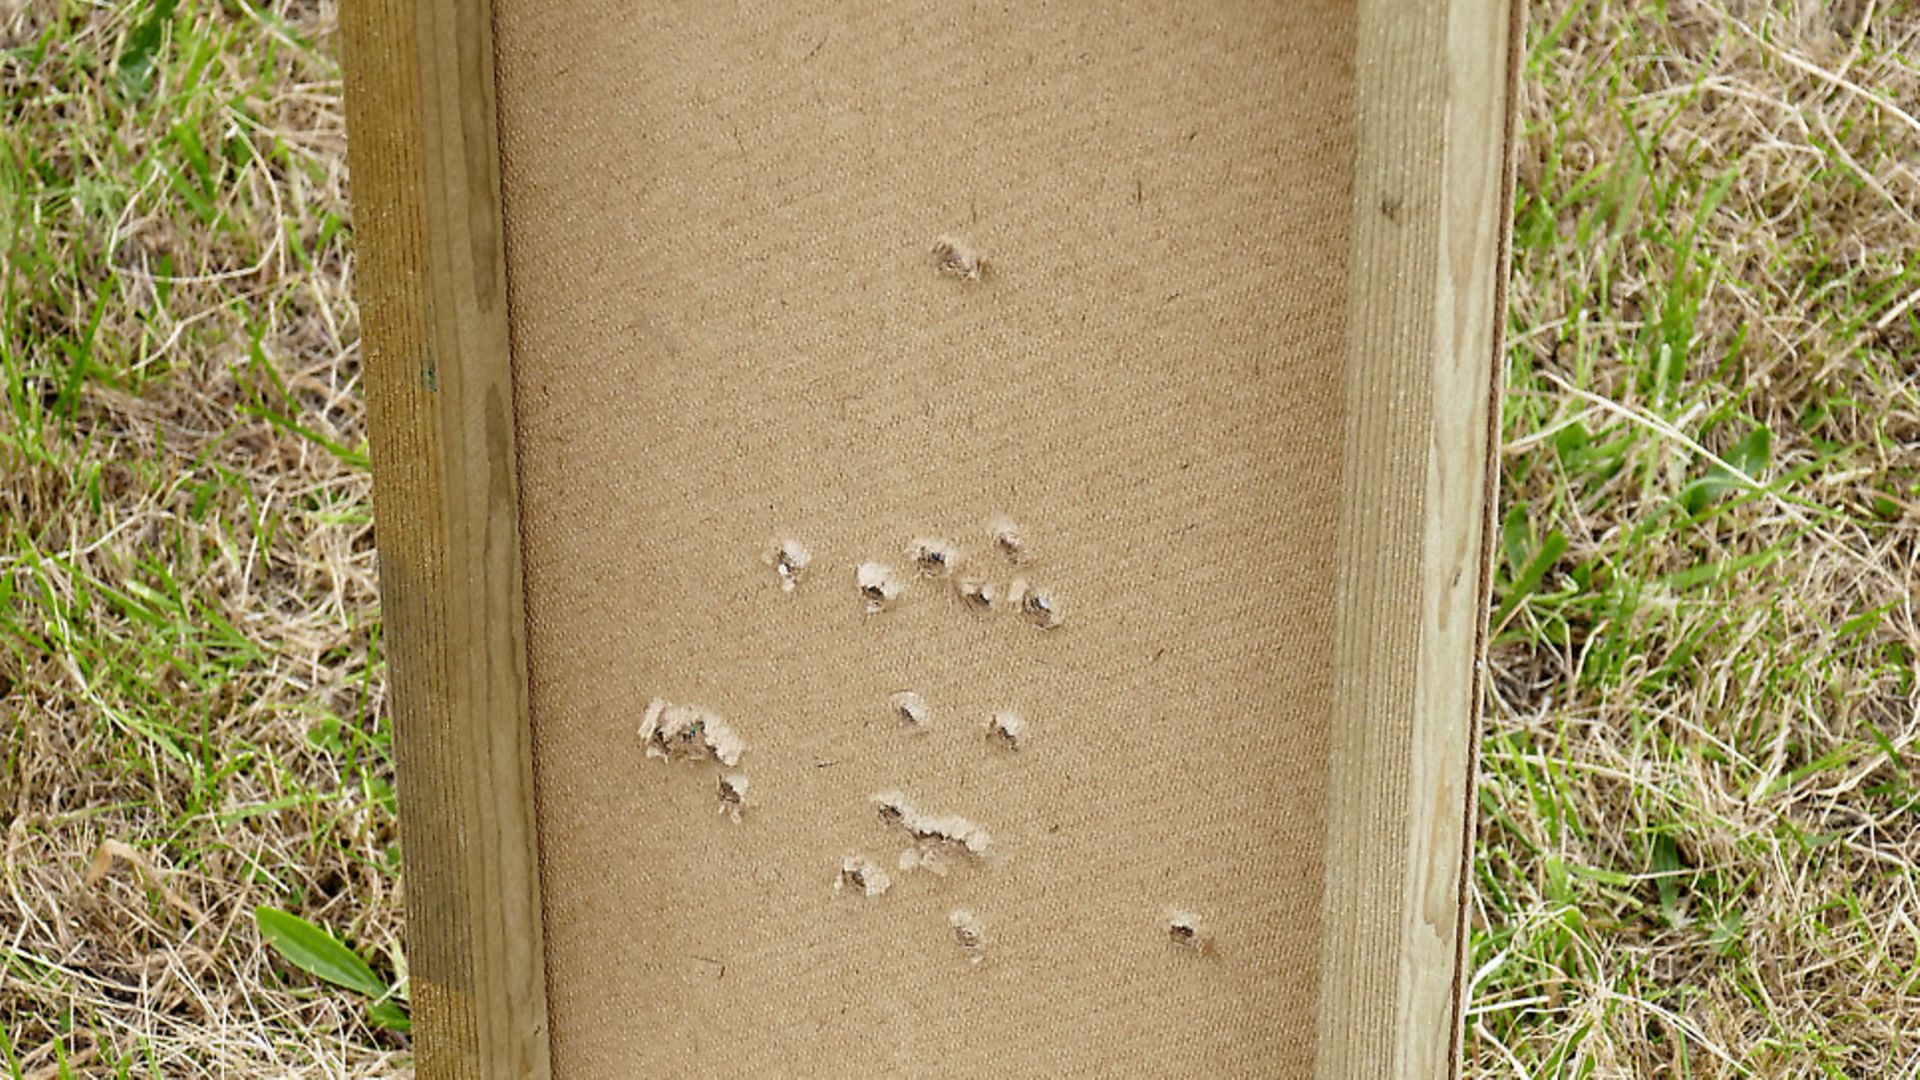
Either way, the principle is simple you basically create a matrix of aim points 10cm apart around a central point. To test your tracking and click values hold your aim on the centre point and then dial 10 clicks up and 10 left and take a shot. If all’s well you should hit the top left aim point at 100m. Then you return to zero and repeat the process in another direction.
 credit: Archant
To be honest I’ve never found this particularly useful, as in order to get any viable information you have to be 100% certain the rifle is locked down and pointing directly at the central aim point at all times. This is a pretty tricky thing to do in a typical range/testing scenario. It’s hard enough to do the click value validation accurately, and you’re only moving in one dimension on that one. Having said that, if you have a heavy rifle sled and are confident you can really lock the rifle down and reset your scope and aim point between each shot it offers another tool in the arsenal in the battle for improved accuracy.
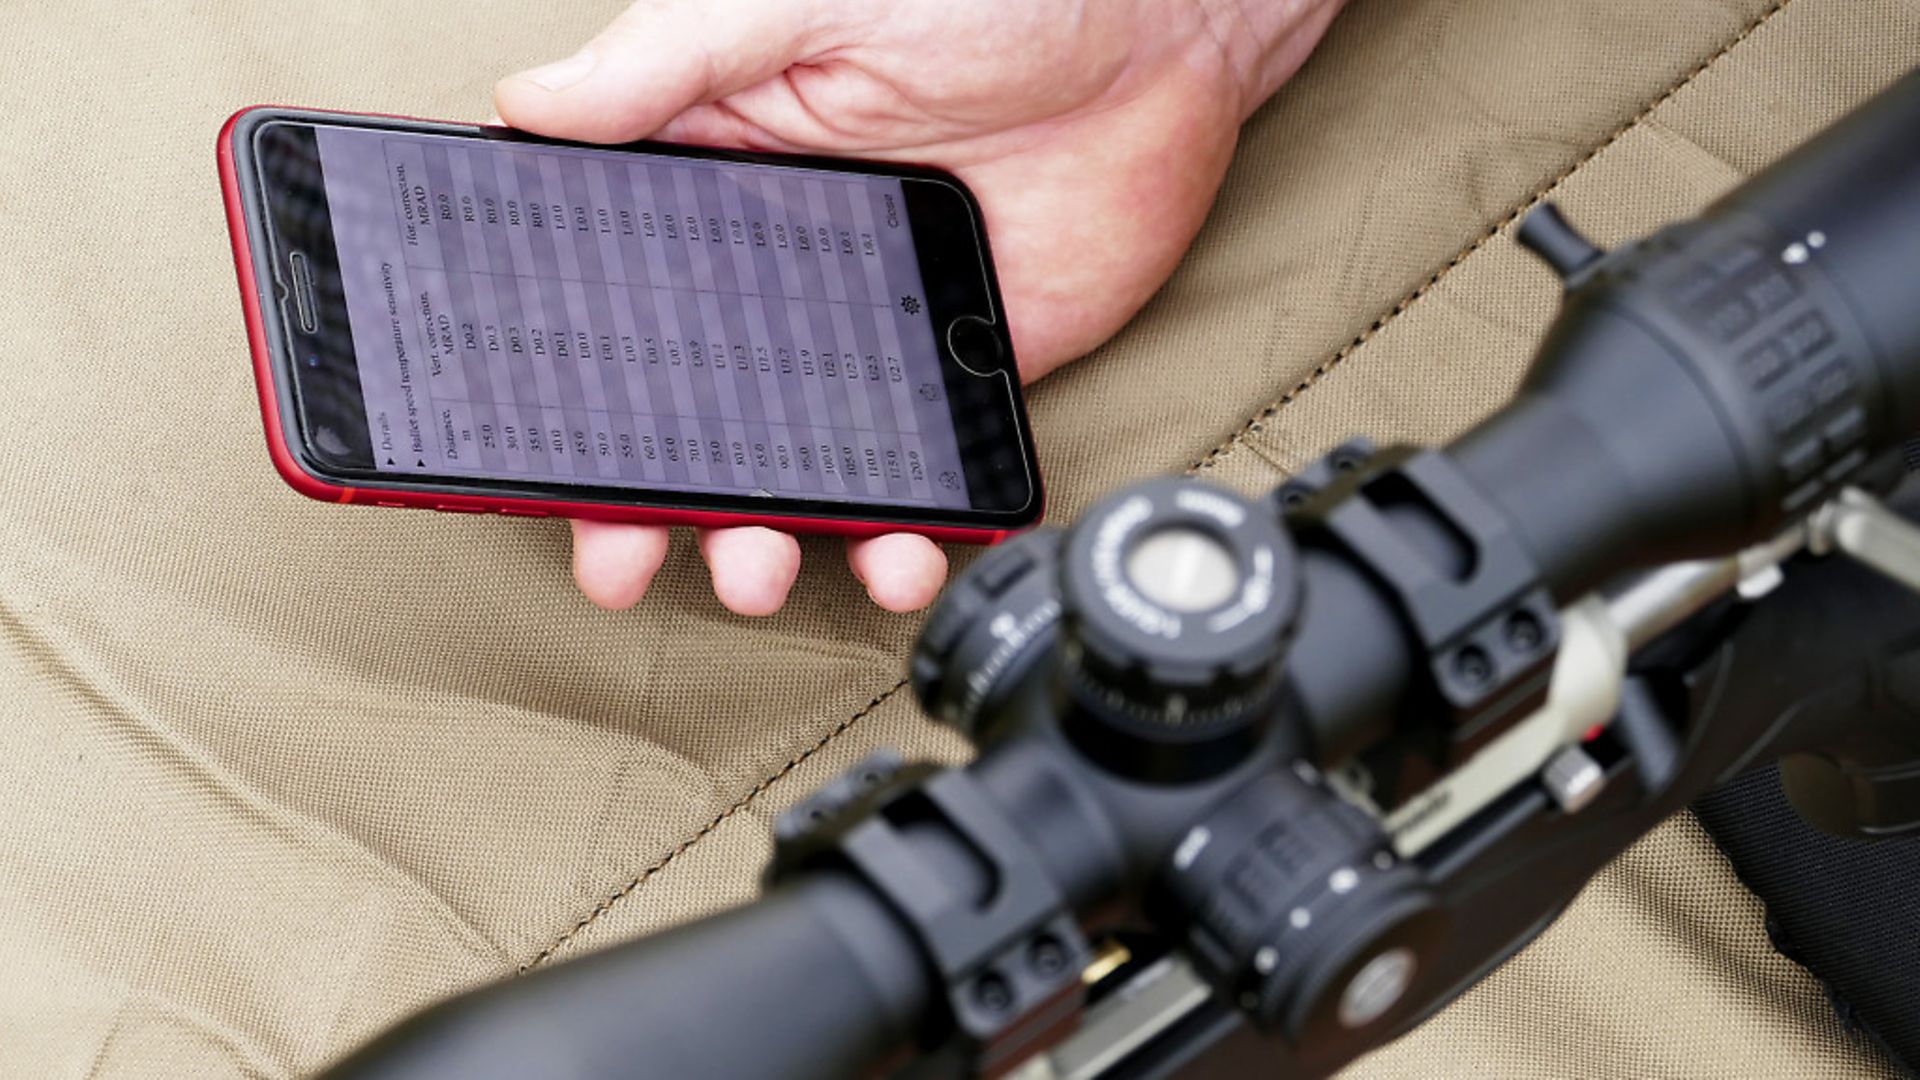
Ballistic table
One of my favourite features in the app is the ballistic data list. I shoot quite a number of rifles and remembering hold overs and clicks values for them all is impossible. With the ballistic data sheet in Strelok I can figure out the sweet spot for any rifle at a glance.
Once zeroed at 150m my 22-250 offers typical varminting performance with no adjustment between 80m and 170m, which is a range at which I take 90% of my shots in the field. Better still just 1 click (0.1) MRAD expands that to a range of 60m to 200m.
The ballistic table provides an instant and invaluable reference for any rifle which can be an essential tool when shooting more ‘loppy’ calibres.
If I’m short on time, or available space, and need a quick zero check on the 22-250 it tells me the current load is bang on at 80m and will be more than adequate to cover that entire range given a nice tight group.
Hopefully this little ditty will at least scratch the surface in terms of improved accuracy. Strelok Pro is a superb product and an absolute godsend for all things ballistic but like any computer programme you only get out what you put in. ‘Rubbish in, rubbish out’ being the computing idiom, which applies equally well when it comes to applied ballistics.
 credit: Archant
 credit: Archant
 credit: Archant
 credit: Archant
 credit: Archant
 credit: Archant
 credit: Archant