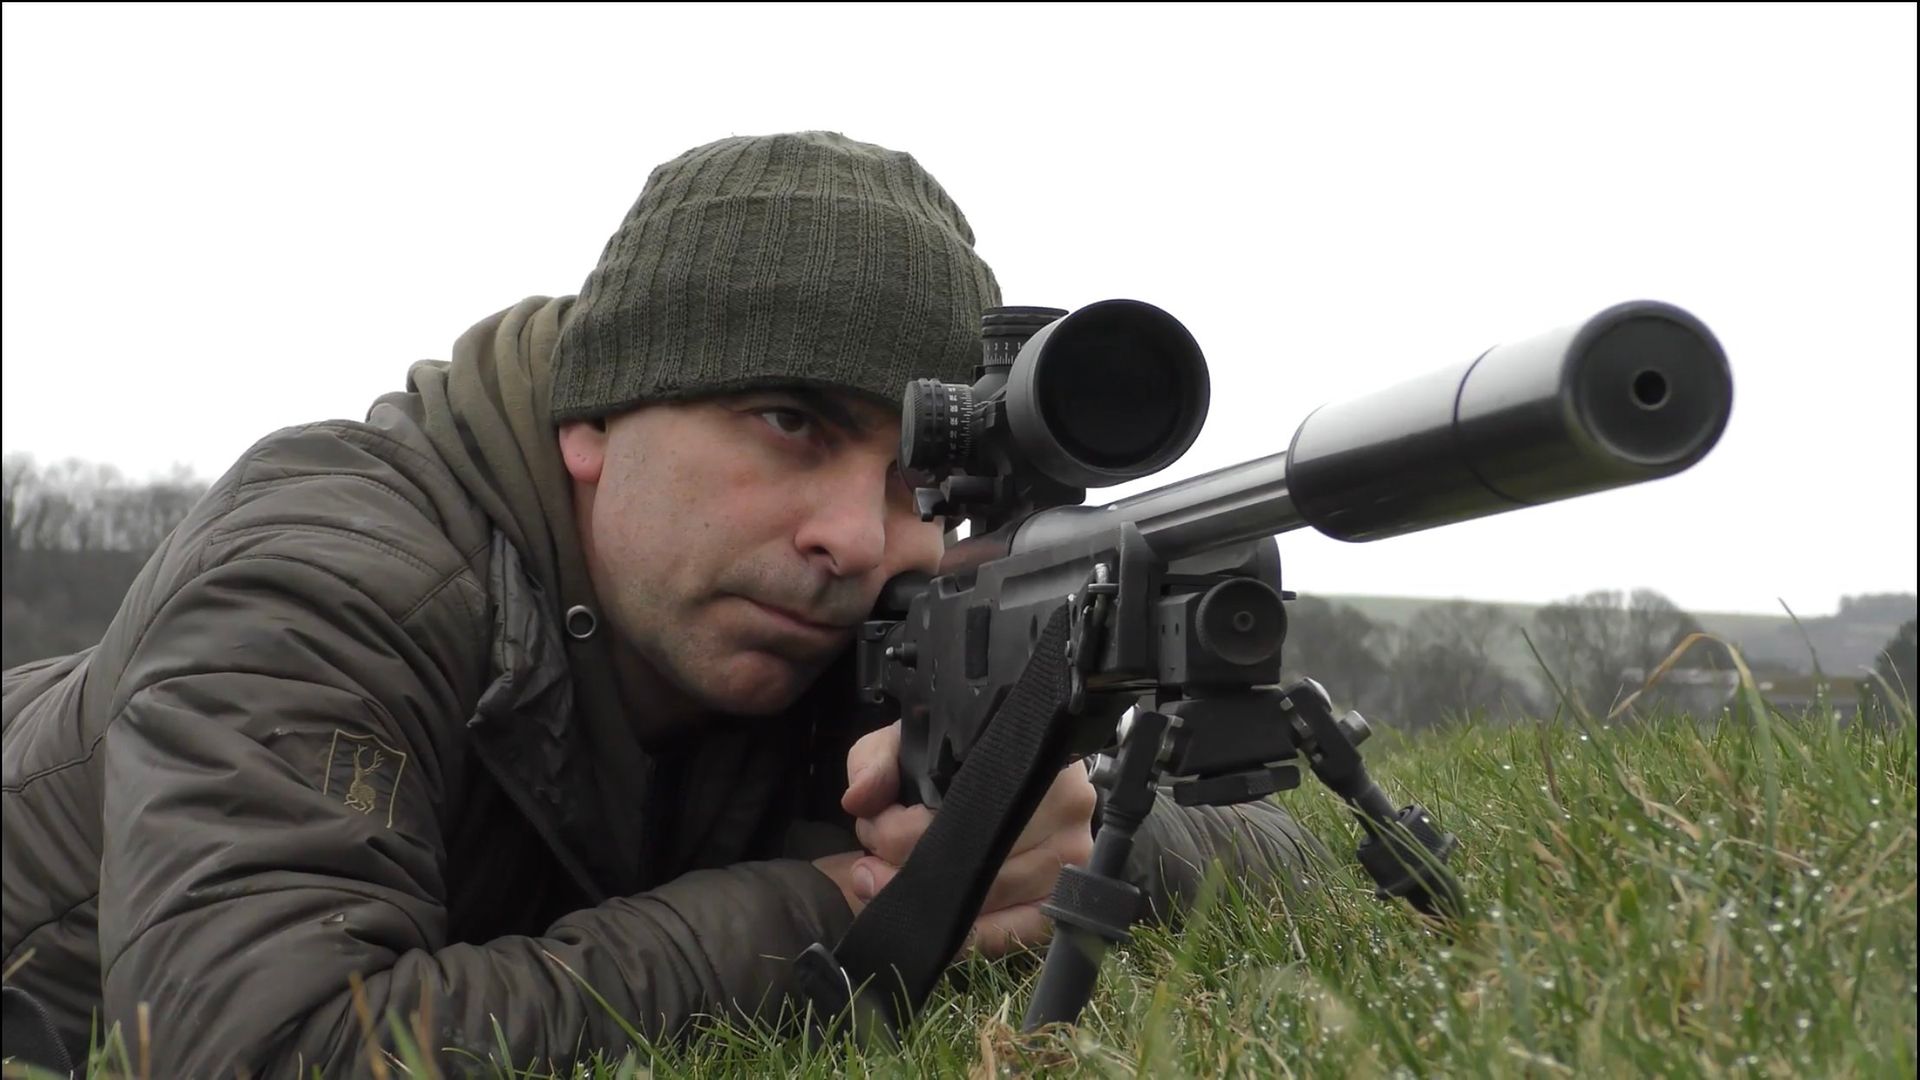
Mark Ripley continues his masterclass series on long-range shooting by looking at how to read and judge wind speed and direction, using both natural clues and electronic solutions like the Kestrel wind meter...
Read part 1 on shooting rests and positions here!
 credit: Archant
By far, the biggest enemy to anyone participating in any form of long-range shooting is the wind. If you have done all your homework right in terms of learning and trueing your bullet drop, then in a straightforward shot the wind is what will most likely be to blame for a miss.
Of course, on nice still days with next to no wind, this isn’t likely to cause a problem, but to the competition shooter who cannot dictate when a match is held or professional pest controller or deer manager who works no matter what the weather, then waiting for such a calm day may not be an option.
From a hunting point of view, the obvious, simple solution is to reduce the range of the shot where possible and thus reduce the wind’s effect on the path of the bullet. Alternatively, we can sometimes simply move position in relation to the target so that we are shooting either directly into the wind or with the wind coming from directly behind us, which will have minimal effect on its flight path.
Shooting in line with the wind in this manner will do little to alter its flight path from left to right over open ground, however, you may notice some slight elevation discrepancies. When shooting into the wind, this may be perceived as a slightly lower impact which is caused by the increased resistance of the wind blowing against the bullet – this may slightly slow the bullet and therefore give gravity a fraction more time to have an effect, resulting in a slightly lower than expected impact.
The opposite effect is likely with a strong tail wind, which may cause a slightly higher impact, although by and large the differences will be negligible under around 400 yards depending on conditions and calibre used.
So, in simple terms for normal hunting ranges (sub-300 yards), shooting into the wind or with a tail wind is likely to have little noticeable effect. This is all well and good if you can reduce the range or change the angle of the wind, but what happens when this isn’t an option?
Well, this is where a whole new skill is born, yet never mastered: reading the wind. Reading the wind is something I don’t think you can ever really master, but you can get better at it! To read it correctly, you need to break it down into several factors and sources of information and make a calculated guess at how much you need to adjust for a successful connection with the target.
It’s rather like shotgun shooting and deciding on how much lead to give a target, only with this it’s the bullet that needs the lead and not the target! As with shotgunning, you first need to establish the range, direction and speed (in this case of the wind).
The range to the target is easily discovered with the use of a laser rangefinder, however, determining the direction and speed of the wind is not so simple. Let’s start by looking at the simpler part: wind direction.
 credit: Archant
Determining wind direction using natural clues
Firstly, you have feel. Very often, you can physically feel which way the wind is blowing on your face; however, a second and more accurate way is to drop a handful of grass, a feather, small piece of tissue or tuft of wool at arm’s length and watch which way the wind blows it to determine an accurate wind direction.
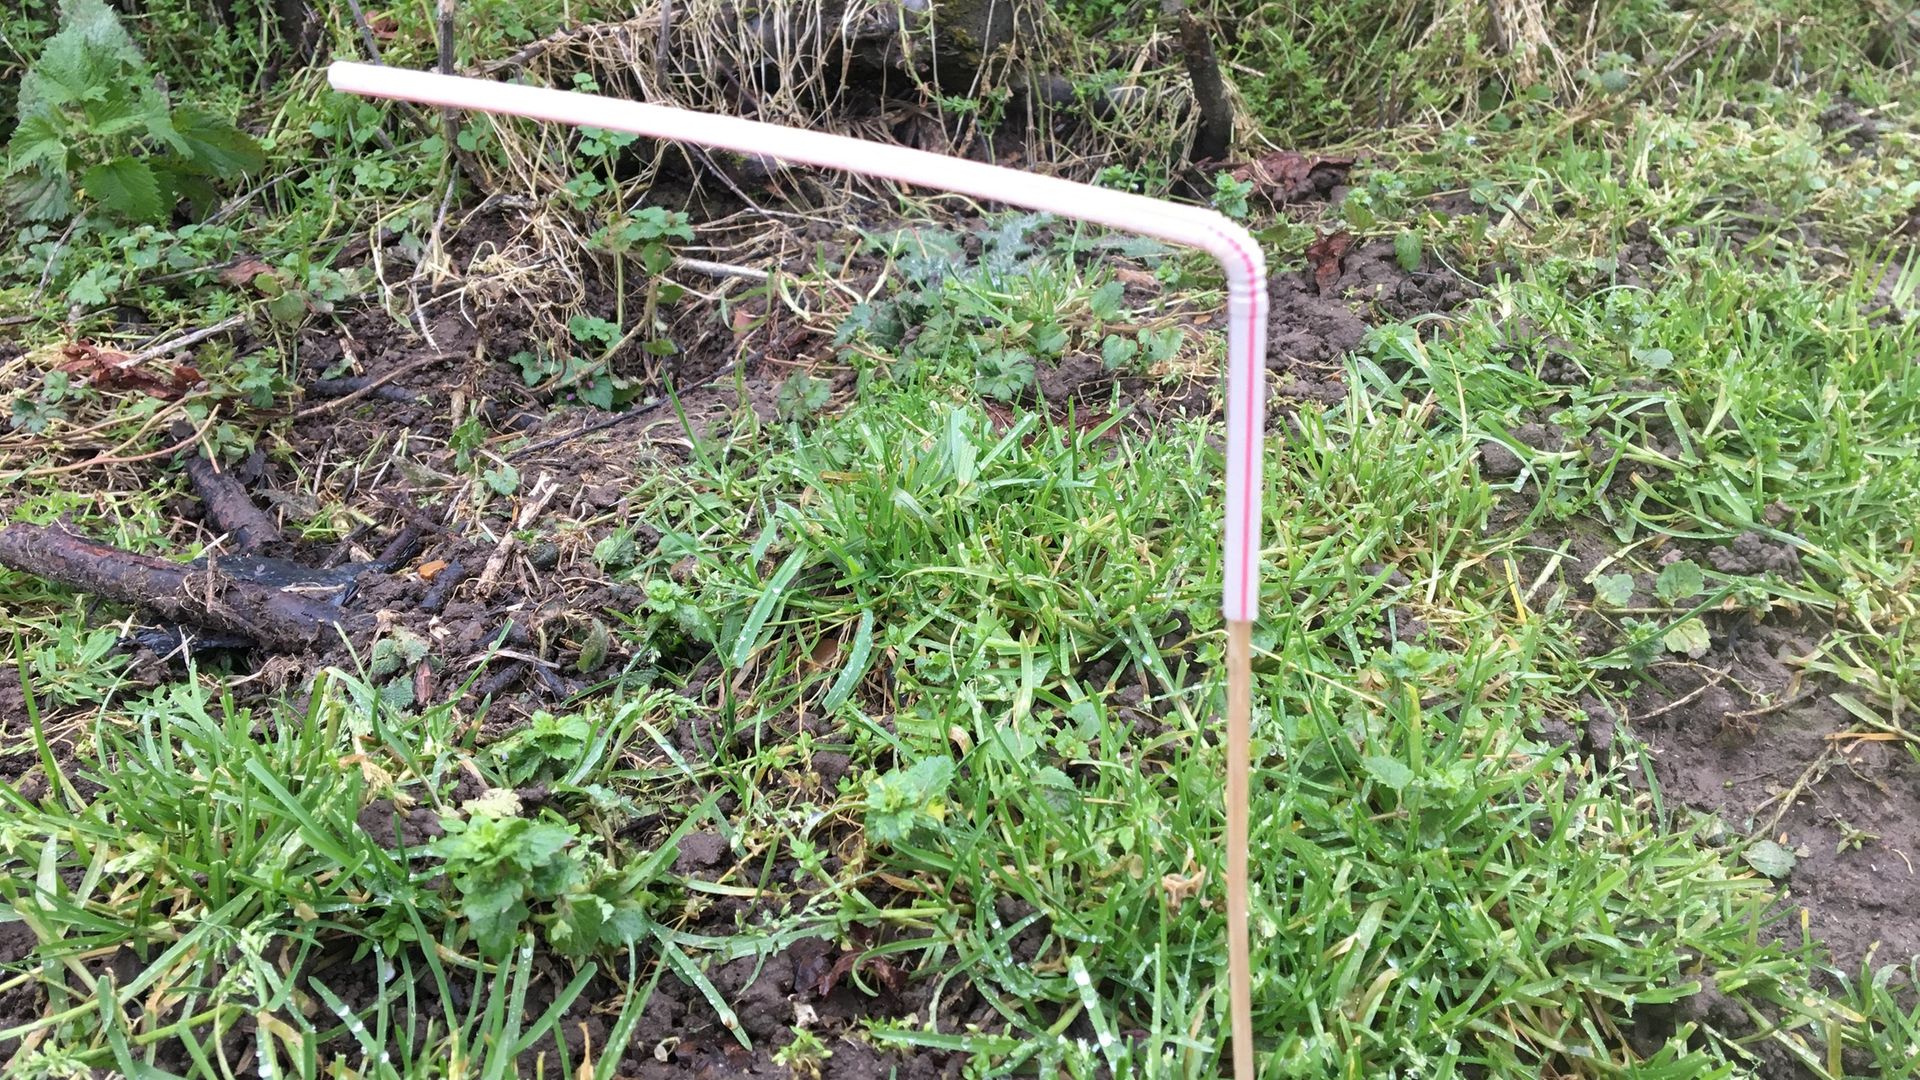
I also occasionally use a kebab stick stuck in the ground with a bendy drinking straw bent 90 degrees and placed over the top of the stick as a makeshift weather vane! Another visual pointer to wind direction is by looking at other signs around you. This has a great advantage when it comes to seeing what the wind is doing down range. Very often, a wind’s strength and direction can be different down range than it is at the firing position.
On the range, you have flags to help show wind direction, but out in the field such luxuries aren’t available to you. Instead look for signs like these:
- Smoke from a bonfire or chimney
- Ripples on a pond or puddle
- Leaves and grass leaning over
- The direction the clouds are moving
- Light objects blowing in the wind such as bale wrapping or wool caught on a fence
- The direction rain or snow is drifting
One trick I sometimes use on areas I regularly shoot over is to tie small strips of coloured surveyor’s tape or ribbon to a strand of fence wire or tree branch that I can see in my scope to help build a better picture of the wind's direction and strength.
Another technique, which I’ll just touch on now but cover in more detail in another article, is mirage. This is the perceived shimmer which comes off a surface on hot or sunny days. This warm air rising up from the ground can be seen by adjusting your scope’s focus on high magnification and will appear as wavy lines. If these lines are shimmering straight up, then this is known as a boiling mirage and indicates a no wind value. If these lines are leaning left or right, then this not only shows the direction in which the wind is ‘pushing it over’, but with practice it’s possible to ascertain the winds speed based upon the angle of the lines.
 credit: Archant
Determining wind direction using electronic solutions
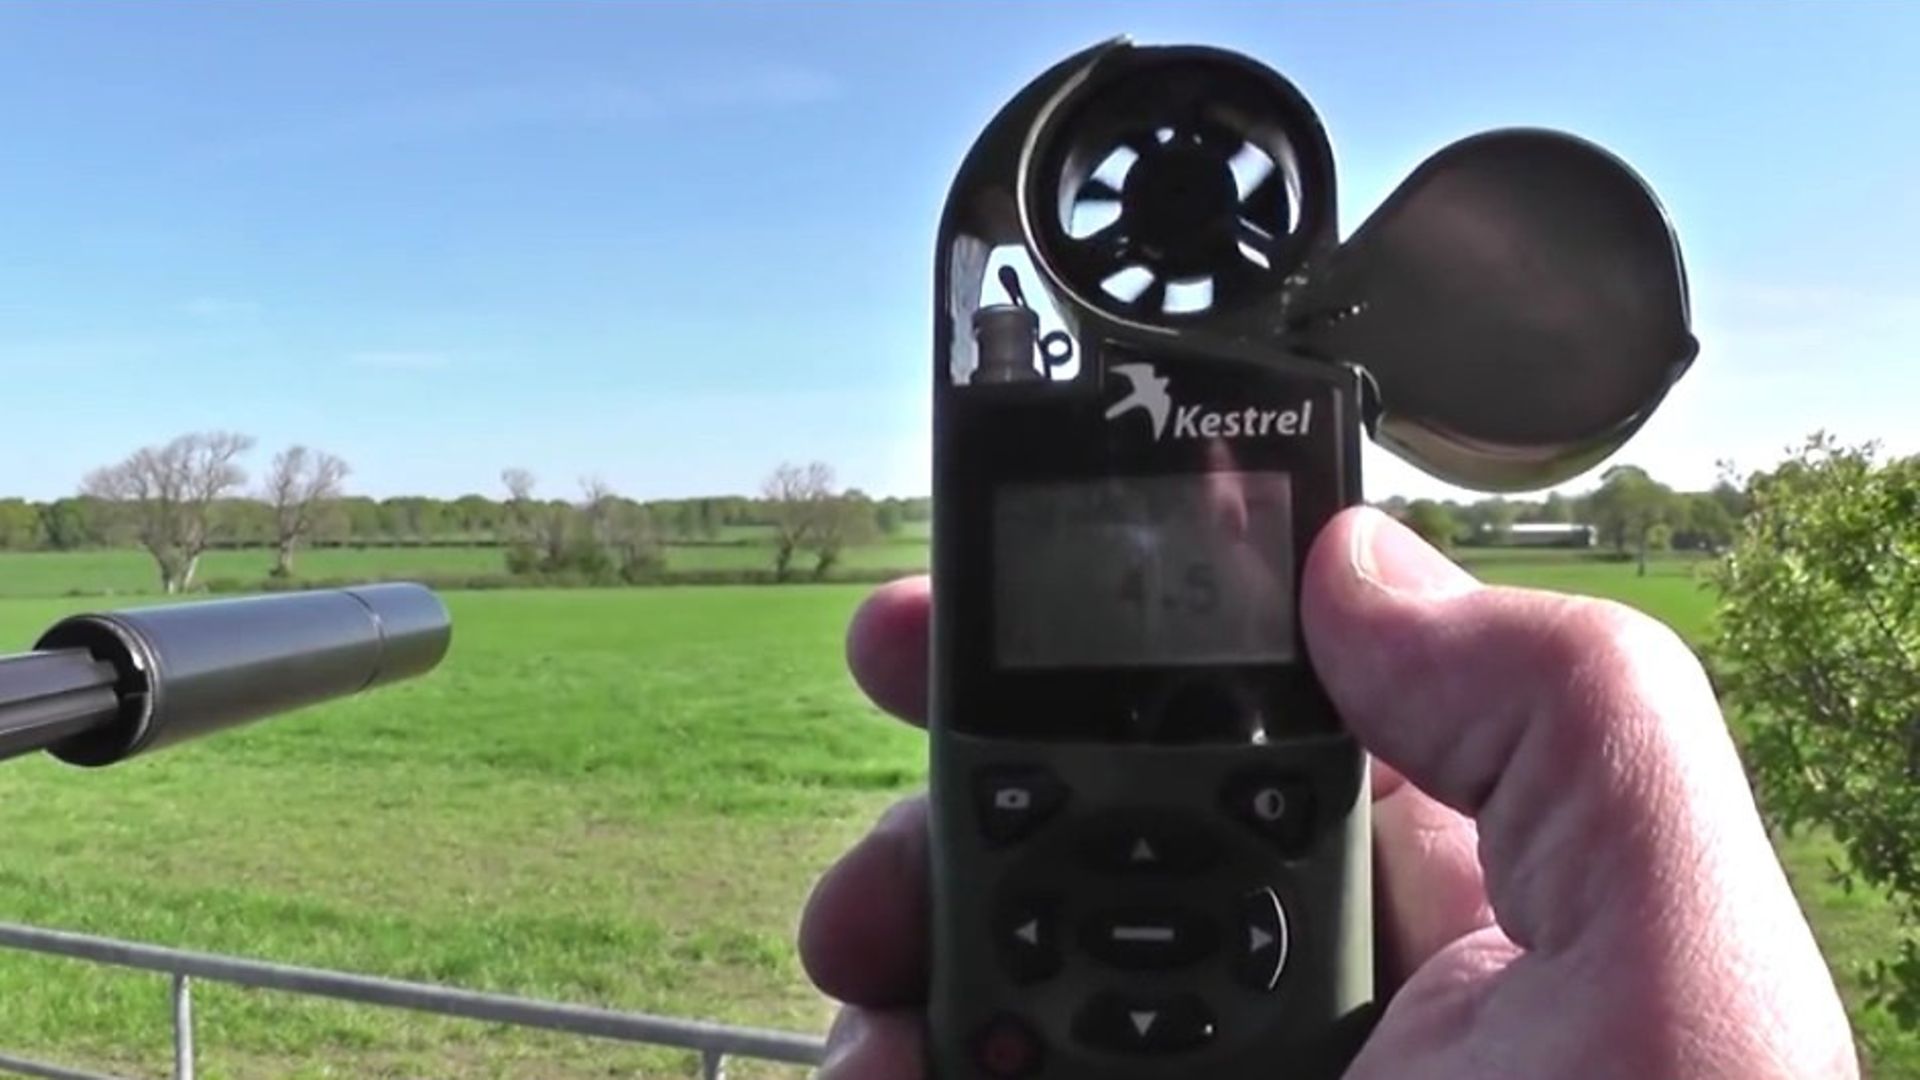
A surprisingly accurate prediction of wind speed is the good old Met Office! This will give a good indication of wind speeds in your area. Then you have a wind meter or the more accurately named, anemometer. For most shooting enthusiasts, this will be a Kestrel.
Kestrel have established themselves as the leading name in anemometers for shooting, with many models incorporating advanced ballistic software to not only give quick and accurate wind solutions but also elevation corrections as well, based on all available environmental information at the touch of a button. I’ve been using one for years and although at first it can be a little frustrating to input all the correct data, the results are well worthwhile once you have it all squared away.
So, for me I have found the most accurate way of correcting for wind is based on a combination of all the information I can gather around me. My initial wind correction will be based on a wind reading from the Kestrel at the firing point, along with the Met Office’s suggested wind speed.
From here I will consider if I’m in a sheltered location and if my bullet may be affected by the wind early on – for instance, if I’m sheltered by a thick hedge yet in 50 yards the hedge ends.
Next I will look at what might affect the bullet along its route to the target. For example, if I were shooting over open ground for 200 yards, then alongside a thick wood blocking the wind for another 250 yards, I would need to only adjust for the 200 yards worth of wind over open ground rather than the same wind over 450 yards.
Also, the shape of hills and valleys can funnel the wind so bear this in mind. By visualising the wind and a gushing river through such valleys, it can help you imagine how the wind may move through, around or over them.
 credit: Archant
How the wind angle affects your shot
As if there wasn’t enough to consider, you also need to think about how the wind will effect your shot if it isn’t coming from directly left or right! This is where we use what is known as the clock system to establish wind strengths or ‘values’.
If you imagine a clock face with you in the centre, and your target always at 12 o’clock, then it makes it easy to understand this system.
A wind from behind you would be known as a 6 o’clock wind, from directly left a 9 o’clock wind, from directly right a 3 o’clock wind, and blowing directly in your face would be a 12 o’clock wind.
As we said earlier, a wind from in front or behind you (12 o’clock or 6 o’clock) would have little to no effect on the bullet, or a ‘no value wind’. A wind from directly left or right (9 or 3 o’clock) would have the maximum effect on the bullet and therefore referred to as a ‘full-value wind’.
So, that’s easy enough – most ballistic apps etc will give corrections for wind based on full-value winds, but what if that wind is somewhere in between?
This would be referred to as a half-value wind and would be basically half the correction needed for a full-value wind. Likewise, this can be further divided into quarter values accordingly.
So, with brain cells rapidly beginning to warm up, I shall leave my ramblings there for another month and delve a little deeper into the dark art of wind reading in the next article, along with a few other long-range shooting tips and tricks.